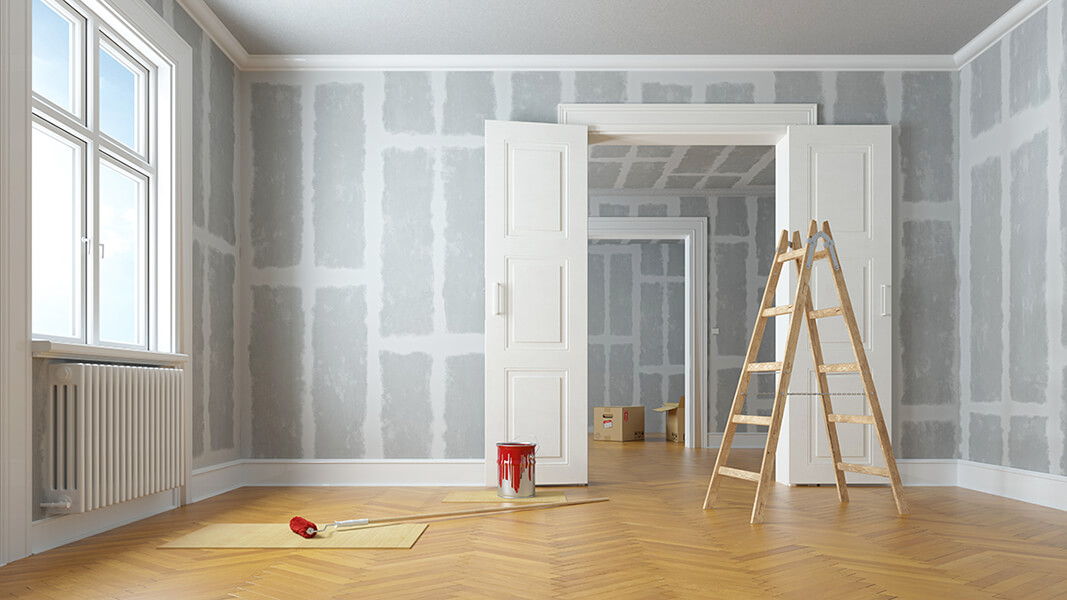
Drywall, also known as wallboard, rock, or sheetrock, is a type of wall panel used in the construction of interior walls and ceilings. It is a fundamental part of modern construction methods and has become extremely popular as an affordable and easy-to-install alternative to wood, plaster, or brick.
Performing a drywall installation on your own might sound intimidating at first. But the process is simple and can be executed with just a few practical tips and tricks up your sleeve. With our help, you can set up a drywall installation project in no time.
But first, you will need to develop a decent understanding of how drywall works, and what installation processes are considered best. While the process itself is not terribly complicated, there will be some basic construction techniques involved that require preparation.
Whether you've executed a successful drywall installation a hundred times or none, this article contains all the information necessary to educate the average DIY enthusiast about installing drywall at home.
The Basics: All About Drywall
While the perfect building material probably doesn't exist, drywall is about as close as they come. In addition to being extremely affordable, drywall doesn't require any specialised equipment to install and can be done by anyone with access to basic tools and information.
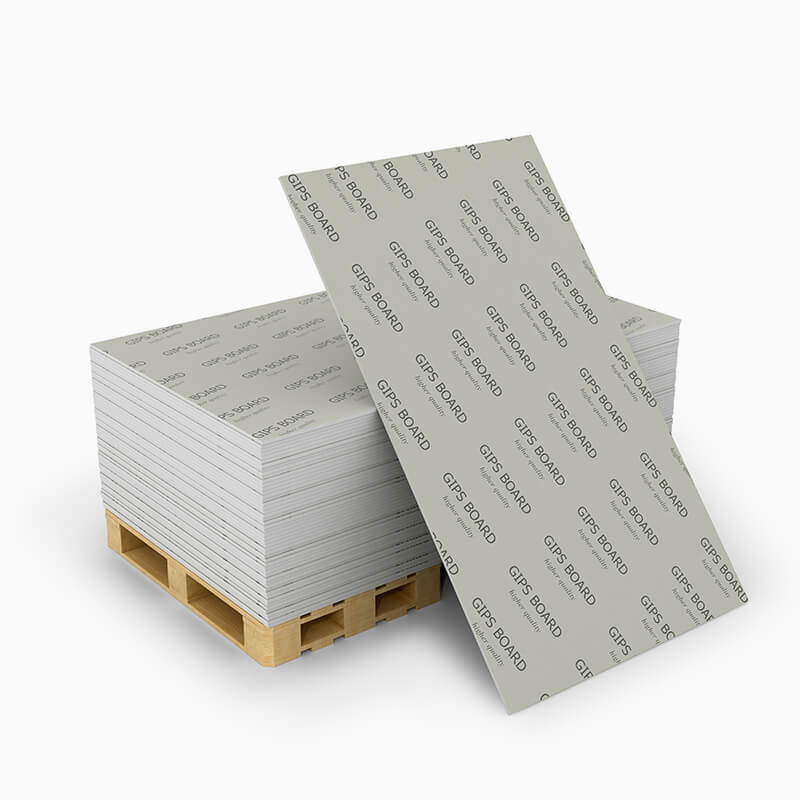
First off, let's talk about what drywall really is. Drywall panels are made from two paperboards, sandwiching gypsum in between. Gypsum is a powdery grey or white substance made from sulphite minerals, which are non-combustible and extremely lightweight compared to other wall panel options.
The main points of interest for drywall sheets are:
- Cost effectiveness
- Fire resistance
- Easy installation
- Long lasting
- No drying time
The combination of the paperboard layers with gypsum sandwiched in between allows for a solid wall panel that is strong, light, and does not burn when exposed to naked flames.
These attributes, combined with the affordable cost, have made drywall panels extremely popular for home-building projects. Anyone can find it at a local hardware shop, and buying multiple sheets is typically much less expensive than what bricks or wood sheets would cost.
Invented in 1916 by the United States Gypsum Corporation (USGC), drywall sheets quickly replaced other building materials due to their high market appeal and convenience.
Made in an era when lower and middle-class families were finally able to break into access mainstream resources, drywall has been consistently popular ever since. So, now that you know about the basics and history of drywall, let's dive into the process of installation.
How to Hang Drywall Like a Pro
Installing drywall panels into your home is a project that almost any DIY-er can do. With its lightweight feel, simple shapes, and minimal tools required, anyone can execute a drywall installation with access to the right instructions.
We've laid out all the basic information needed for installing drywall sheets at home so that you and any other DIY enthusiasts out there can omit the contractor's bill and complete it on your own. Let's go through some of the steps, materials, and techniques you'll need to know before starting:
Tools Required
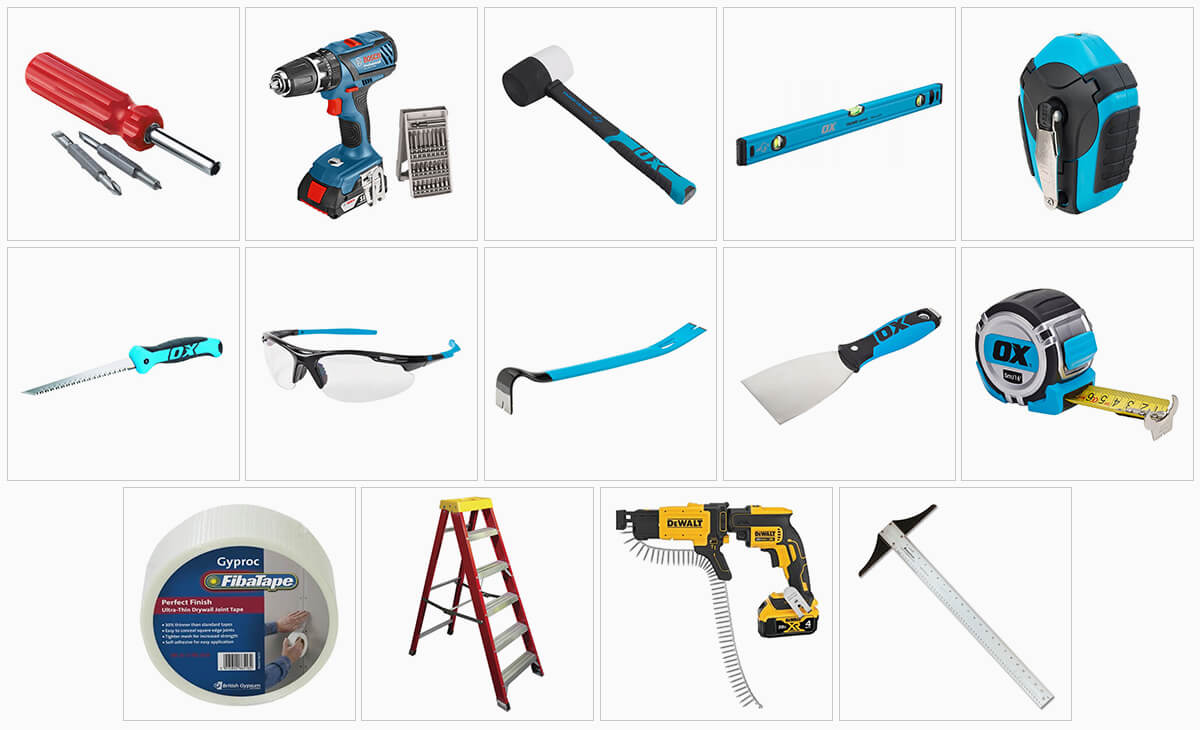
Before you can start the drywall installation process, you will need to obtain several different tools to help you along the way.
We recommend the following: 4-in-1 screwdriver, drill (cordless is best), mushroomed hammer, spirit level, chalk, drywall saw, safety glasses, pry bar, spackle and taping knives, tape measure, drywall tape, step ladder or chair, screw gun, and a T-square for precision.
Materials Required
Once you have acquired the right tools for installing your drywall panels, you will need to purchase the following materials: drywall sheets measured to size, drywall screws (a variety of lengths depending on the depth of drywall being used), and drywall nails.
Drywall is one of the cheapest building materials on the market, which makes it an easy and convenient option for beginner DIY projects. Any mistakes you make will only cost you a few pounds, and corrections are easy to apply.
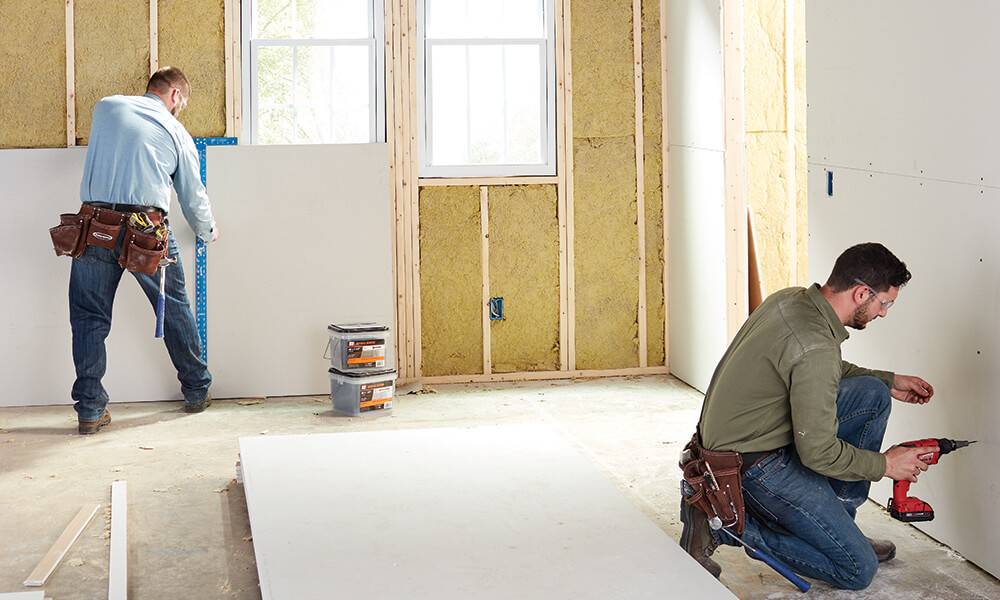
The Hanging Process
Once you have all your tools and materials laid out, you can start the process of drywall installation. Here, you will see all the necessary steps for avoiding mistakes and creating a smooth, seamless drywall interior that you can be proud of.
The part that might present the most difficulties is the taping of the drywall - poor taping can result in cracks or fissures that will be inconvenient (but not impossible) to fix.
Bear in mind that if this is your first time doing a drywall installation, it might not be perfect on the first try. Fortunately, drywall is a highly adaptable material, and it won't take very long to smooth out any rough edges (literally).
The following few points will take you through every step of the way, and help make sure you come out the other side with a successful and satisfactory new wall. Let's go!
Measure the Wall
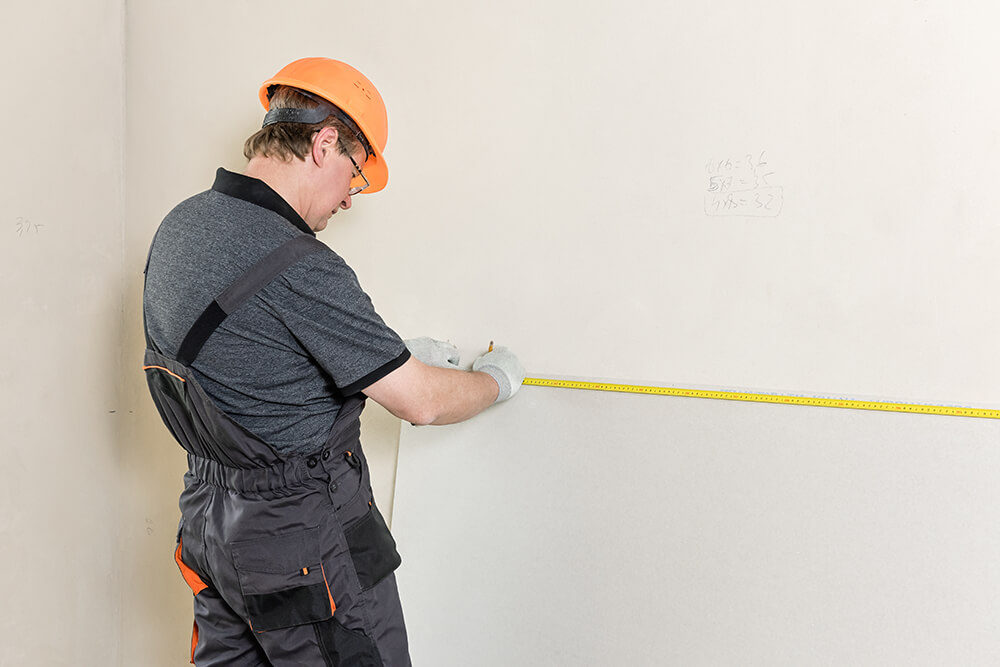
Before you can even buy your drywall, measuring the area where your wall is going to be installed is a crucial step in the installation process. In order to know what size drywall sheet you need, simply measure from the middle of the joist to the end of the ceiling, and get your sheets cut to length.
Take the time to mark fastening guidelines every 40 cm or 12 inches from the end of your sheet with your drywall square. When getting your drywall panels cut to size, shorten them by 1 cm for easier fitting.
Selecting and Buying Drywall
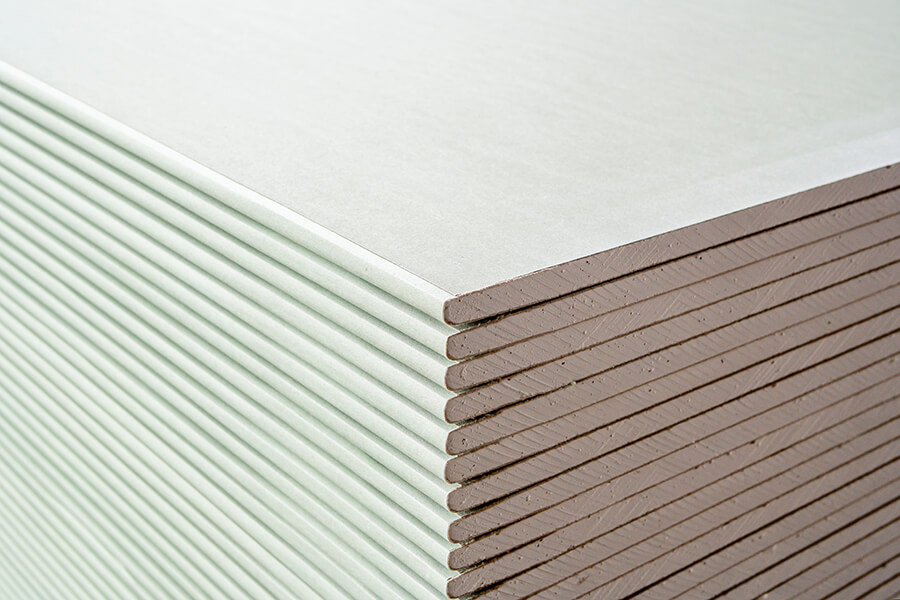
Most drywall installations require three basic thicknesses and types of gypsum material. The two standard thicknesses for drywall in the UK are 9.5 mm and 12.5 mm, either of which might be suited to your specific building project.
Take your measurements to the hardware shop for further insights from those with experience. Circumstantial information such as window placement, interior versus exterior, and curved walls will have to be determined prior to purchasing the drywall panels.
Focus on finding the correct measurements for the space where you want to install drywall and opt for a thickness that suits the needs of the installation environment. Your panels will act as slabs that cover exposed sections of the wall, so make sure you've got the dimensions just right.
Plan for Windows, Doors, Outlets and Other Fixtures
Depending on the place of your drywall installation, you might have to customise the shape of your panels to fit into it properly.
If there are any windows, doors, outlets, or other fixture types in the area where you want to install drywall, now is the time to use your drywall saw to make those adjustments.
You can do this by making a "map" with pencil and paper that details exactly where irregular shapes occur and adding the measurements of each for further precision. Then, once you have your drywall sheets, you can cut out the relevant shapes to make it a seamless fit.
Tack the Drywall Sheets in Place with Drywall Nails
Before you can whip out the drywall screws, tacking the sheets into place with drywall nails (also known as plasterboard screws) can provide extra strength and precision.
You can do this by taking your measured-out drywall sheets and carefully placing them in their designated positions. Then take some chalk and mark out some dots where you intend to screw the sheets into the interior.
Make sure to place a dot in every corner, and multiple times across length and width. Don't add too many - tacking is just to hold everything in place before the drywall screws come in.
Once the chalk dots are in place, insert your drywall nails with a mushroomed hammer. Use your spirit level or T-square to ensure that everything is in alignment before screwing it in.
Drive Screws Into the Drywall Sheet
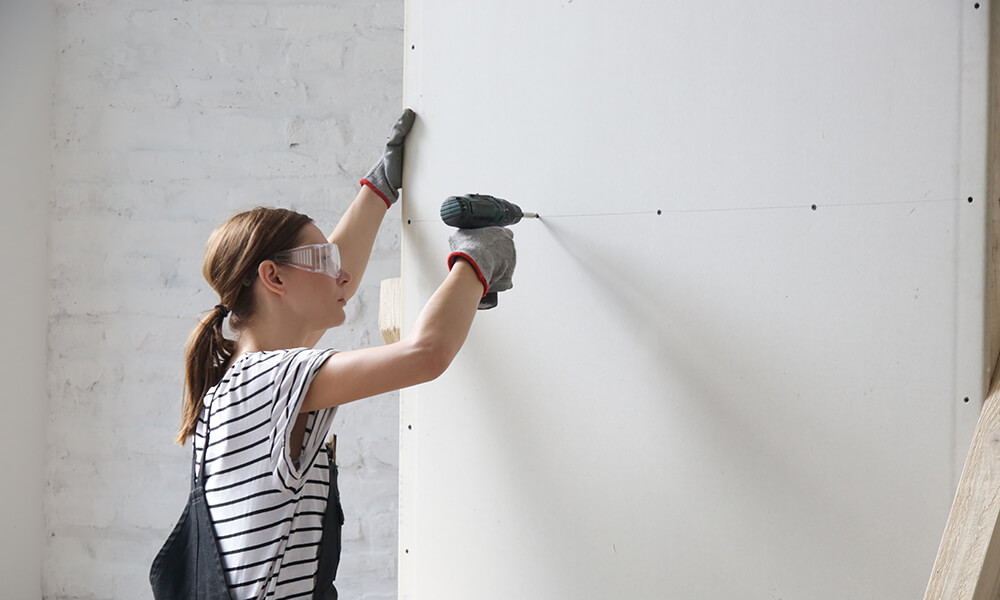
Once your drywall sheets have been successfully tacked into place, take a moment to assess whether your sheets are ideally positioned. If you are unsure, now is the time to make adjustments until everything is picture-perfect.
Now, take your drywall screws (any other type of screw will not be compatible with the drywall, so make sure you have the right kind) and drill them into place. It is recommended that drywall is screwed in every 30 - 40 cm or 12 - 16 inches for ultimate endurance and coverage.
Taping the Drywall
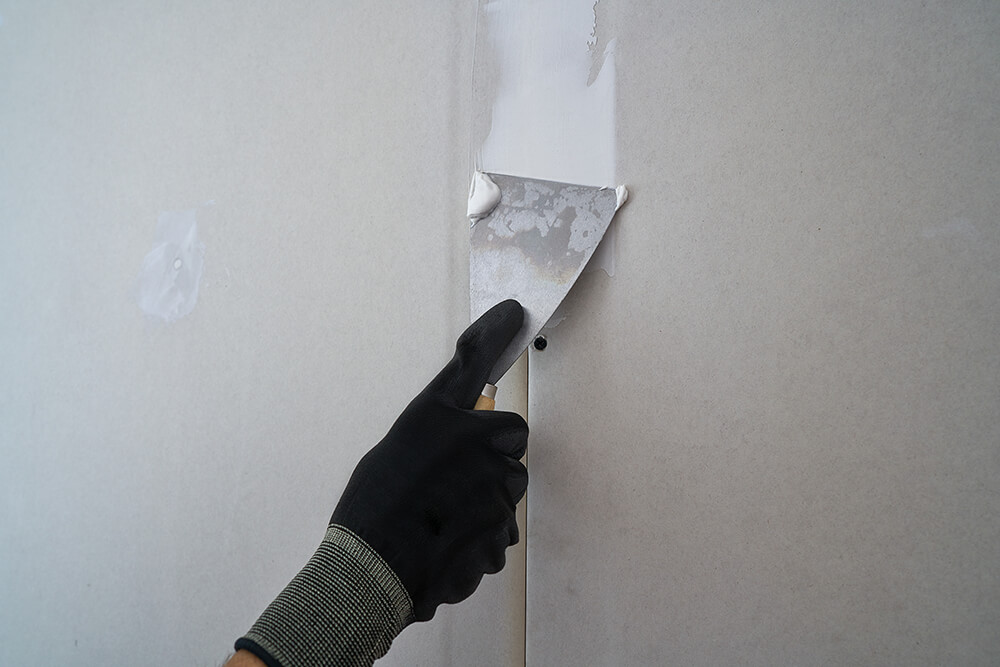
Taping your drywall is the process of smoothing over any joins (where two panels meet) with plaster mix, also known in the drywall community as "mud". This is the final touch for the drywall installation process, rendering the walls smooth and clean-edged.
Start by mixing your mud (or using a pre-mixed plaster) into a smooth, peanut butter-like texture. There should be no lumps. Use a clean, sharp metal spackle knife to pick up small quantities of mud, and smooth it over any exposed seams between panels.
When all the seams are filled with mud, use the spackle knife to scrape off any excess mud for a completely smoothed-over finish.
Next, take your drywall tape, and measure it out in strips that fit just over your seam lines. Before you apply the tape, submerge it in water and wring out in a swift motion to get rid of excess moisture.
Then, gently apply over the centre of the seam lines, using your cleaned spackle knife to marry the tape into the mud. There should be no air pockets or lumps. Now, leave the mud to rest and dry, leaving your drywall panels to set in place.
Dealing With Wiring and Outlets
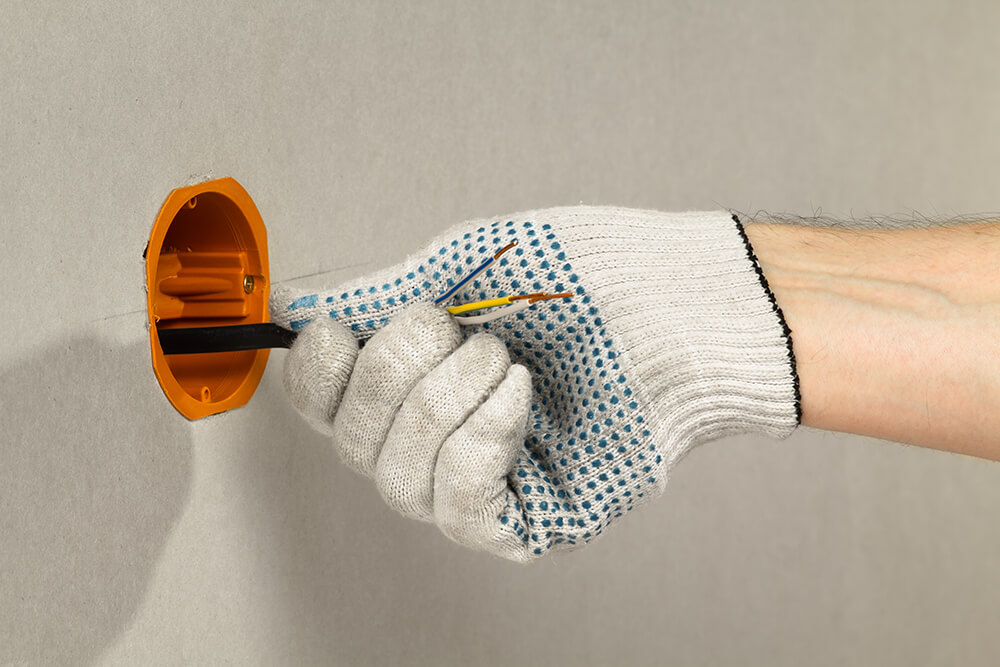
Ideally, you would have any electrical outlets already outlined and cut out to avoid future implications. However, if you haven't done that yet or plan to do so at a later stage, don't fret.
You can use a drywall saw to cut out the shape of your electrical outlets, making sure the measurements are exact. When you place the plastic exterior of your outlet over the drywall, there should be no gaps in sight.
Your wiring can sit on the inside of the drywall, creating a clear path for the outlet to connect to the main electrical wiring system.
Working Corners and Finishing Seams In Thin, Even Coats
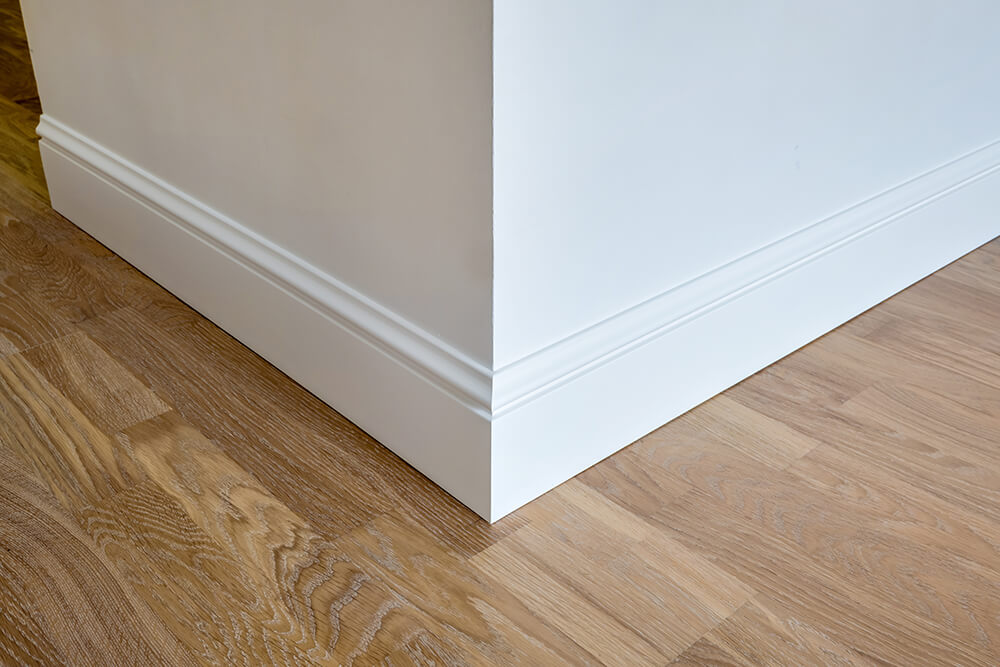
With the right techniques and some simple tools, you can create neat and seamless drywall joints. Using a variety of different-sized spackles (smaller ones are best), some fresh mud, and sandpaper, your edges will look crisp and clean for years to come.
Start by loading a 10 to 15-cm spackle with mud, focusing on the centre rather than the edges. Apply the mud, starting at one end of the joint, moving across in a fluid, consistent motion.
The aim here is to seal any gaps, creases, or cracks with mud, leaving a smooth finished product. Don't load your spackle knife with too much mud; keep things light and add more if you really need to. An excess of mud can create lumps and look unsightly.
Always make sure your spackle knife is clean, taking breaks to rinse it off. This will prevent small bits from drying and creating sharp pieces that negatively impact the neat look you are going for.
Once your mud has completely dried, you can take your sandpaper and finely smooth over everything until it reaches the smoothness you desire. And just like that, you have completed a DIY drywall installation project from home. Well done!
What is the difference between drywall and plaster?
Drywall is made out of gypsum, a soft material comprised of sulphite minerals. Sulphite does not easily crack or burn, making it an ideal option for the internal material of a wall. Paperboard is sandwiched on either side of the gypsum for added strength.
Plaster, on the other hand, is a particularly hard-drying material made from lime, water, gypsum, and sand. It hardens upon drying and is one of the oldest known building materials in history. It is also significantly more expensive and labor-intensive than drywall.
Is it better to repair or replace drywall?
While the answer to this question depends largely on how serious the damage is, the smart thing to do is replace the drywall.
Cracks are a clear sign of a greater issue, and dealing with the issue at the root will result in a longer-lasting wall. Drywall sheets are affordable and accessible, making them easy to replace when something goes wrong.
How far apart should drywall screws be?
Drywall screws should be between 30 and 40 cm apart. This distance allows for maximum support with minimal visual distractions from the screws. In the US, the distance is 12 to 16 inches.
What is the difference between 14-inch and 38-inch drywall?
The difference between 14-inch drywall and 38-inch drywall is 24 inches. The thicker the drywall, the better insulated it will be (for both sound and temperature).
In the UK, you will typically find panels between 9.5 mm to 12.5 mm wide and 900 mm to 2,400 mm tall. Meanwhile, in the US, the average sizes are 0.5 inches wide, and 4 to 8 feet tall.
Related Articles
Category
Study & ResearchPosted On
3rd September 2021
Category
Study & ResearchPosted On
3rd September 2021

