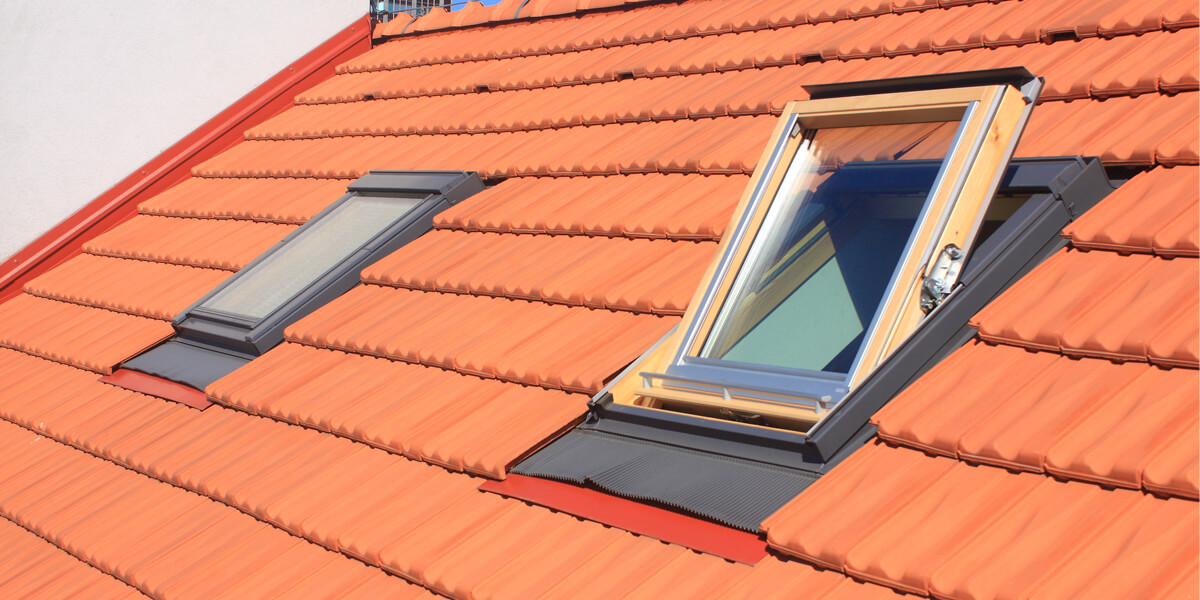
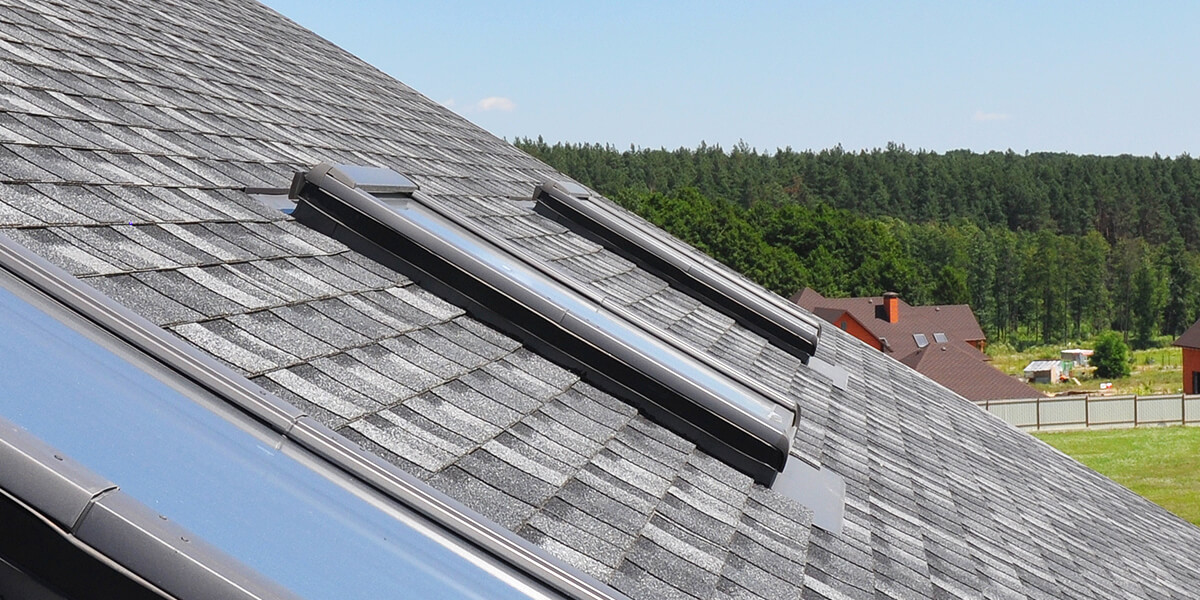
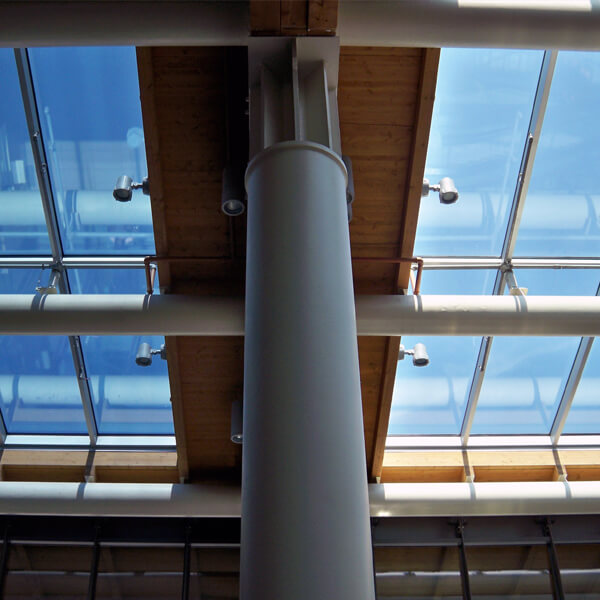
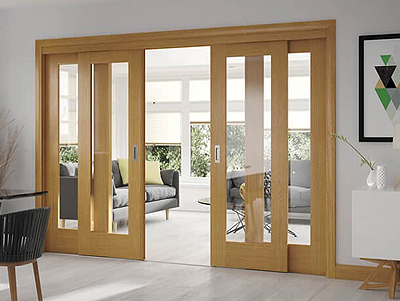
Skylights, also sometimes called roof lights, have become popular in modern homes as they allow for extra light into what may be a dark space. In some cases, they replace windows altogether, while in others, they complement the windows and add to the overall aesthetic and design of a room.
But skylights are not just a modern construct. Open skylights were used by architects from Ancient Rome, with one example being the Pantheon's oculus. Glazed closed skylights have been used since the Industrial Revolution made advances in the manufacturing of glass production.
Assembly line production units since the middle of the 20th century have brought skylights to many contexts and uses. Energy conservation has brought about design innovation, efficiency rating systems, and new motivation and transmission options for skylights.
If you're interested in adding one to your home or including it in your building plans, keep reading. We've covered everything you need to know about skylights.
SKYLIGHT INSTALLATION
How Much Does It Cost to Build a Skylight?
The cost of a quality skylight will start at roughly £700 and then rise in price according to complexity and size. One that opens electronically for ventilation is significantly more expensive, starting at around £1200, and a walk-on unit begins at roughly £1000.
Important Installation Questions
You need to answer some questions before you begin your installation.
- What room or rooms do you want your skylight installed in?
- Do you want more than one?
- How much natural light do you want to let in?
- Do you need an internal skylight or a floor light?
It is important that you look at function and position because certain rooms in your home will be more suited to a skylight than others. You may even want to brighten up a basement or lower room in your house by fitting an interior skylight.
Natural light is a big benefit to any building, especially commercial or residential spaces where people spend large quantities of time. However, it is important that you remain aware of the potential of overexposure to harmful ultraviolet rays. This is more common in rooms with a south-facing position, but keep it in mind if you want to avoid sun-related damage to yourself and your furniture!
And, as lovely as it is to sit underneath a skylight, if you've got the specification of the glass wrong you may end up with a greenhouse effect. If they have been placed on roofs that face north, you can look forward to relatively constant cool illumination. Skylights on east-facing roofs will offer maximum light and solar heat gain in the morning, those on the roofs facing the west will do so in the afternoon.
These days there are some clever glass specifications that can remove the UV but still allow the full amount of light to pass through. So, remember to research your glazing options when you're ready to install your skylight.
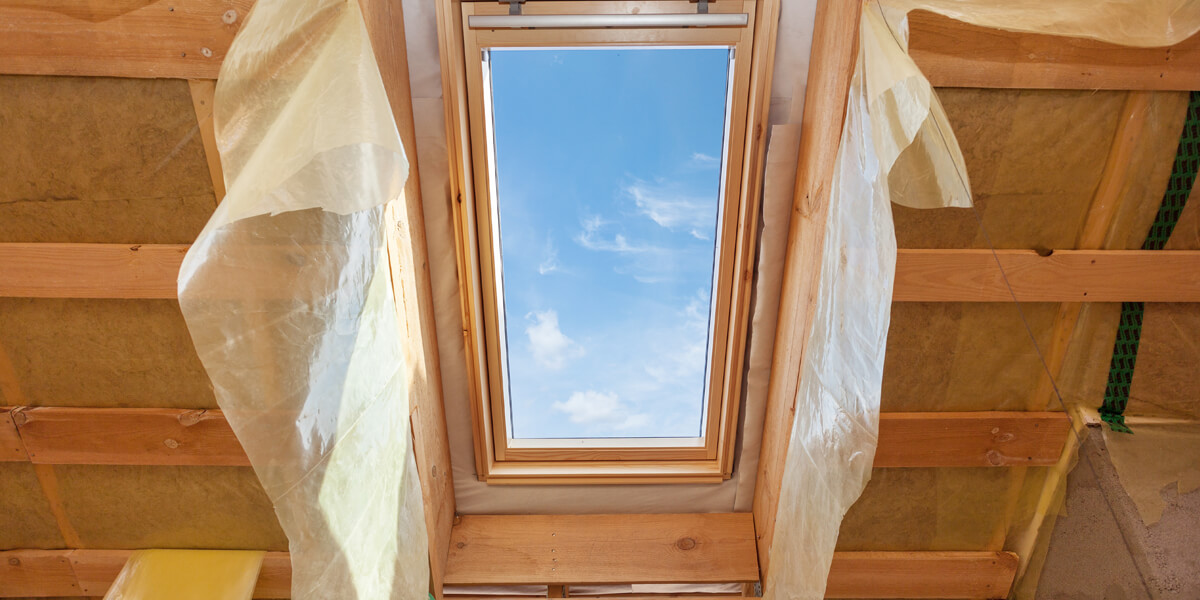
How to Build a Skylight
Do-it-yourself skylight installation is not as difficult as you may fear, and it offers so many advantages that people often want at least one.
Besides the romantic features of being able to watch the rain come down, the snowfall, or the stars glittering in the night sky, skylights will also reduce how much electricity you use. And they will help your home warm up quickly on sunny days, too.
When you are ready to start building your new skylight, be sure to choose a day with at least a few hours of sunshine.
These directions are for putting one into a structure that already exists but if you are currently building a new home it is even easier.
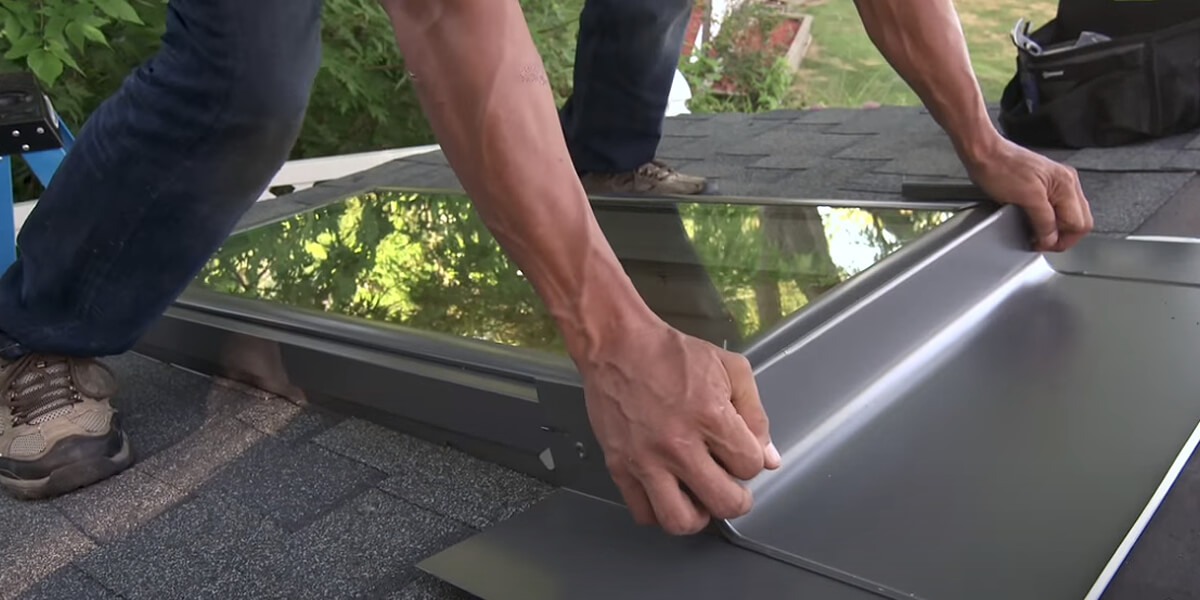
1. The first step is to remove all the roofing where the hole is going to be cut. You'll need to create a hole in the roof that is big as your window, and you can use a chainsaw or a handsaw. Then, you'll need to measure and cut a 2-by-6-inch board and frame under the edge of the new hole. This will be a casino where the window can be set in.
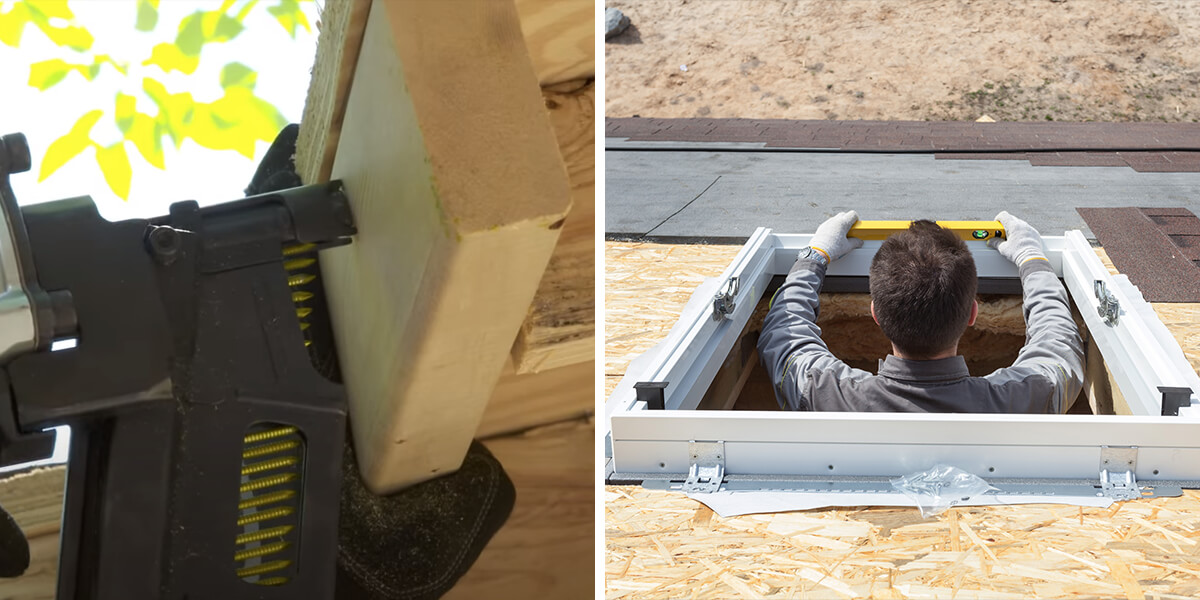
2. Measure and then cut 1-by-2-inch boards to the inside of the new casing, flush with the bottom, and then nail them in. Set your window in place and build a frame using 1-by-4-inch planks, 2 inches bigger than the hole in the roof on all sides. Nail it to the roof.
3. Cut a 1-by-6 or 1-by-8-inch board to fit it across the middle of the frame and do this so that the board tapers to 4 inches at the ends. Nail this in place. Tar and paper around the frame on the roof, cover it with plastic and staple it in place.
4. Nail laths around the outside of the frame to help secure the plastic, and you're done!
How to Seal a Skylight
If your skylight is leaking, you should consider several possibilities before you start your fix. Water dripping may not actually be a leak at all but the result of condensation forming on the inside of the skylight's glass or plastic during cold, wet weather. It could also be caused by an unrelated leak above the skylight that's finding its way out through the ceiling opening around it.
If, however, the leak ends up being from the skylight itself, start by cleaning around the window to remove debris and leaves. Next, examine its exterior, flashing carefully for gaps and ensuring that your flashing is 100% properly installed.
If you're still unsure as to the leak's source, using a garden hose to try reproducing the spill could help you to narrow it down. Ascertain whether the water is coming from flashing around the skylight, the frame, or the lens.
Depending on the leak's location, you may need to use a can or tube of roofing cement to seal any gaps or holes in the flashing. You may need to apply a tube of 100% silicone caulking to seal holes around the skylight's lens or repair or replace the metal flashing around the skylight's frame.
TIP: Try the easier repairs first, such as roofing cement or silicone caulking, before the more difficult flashing replacement.
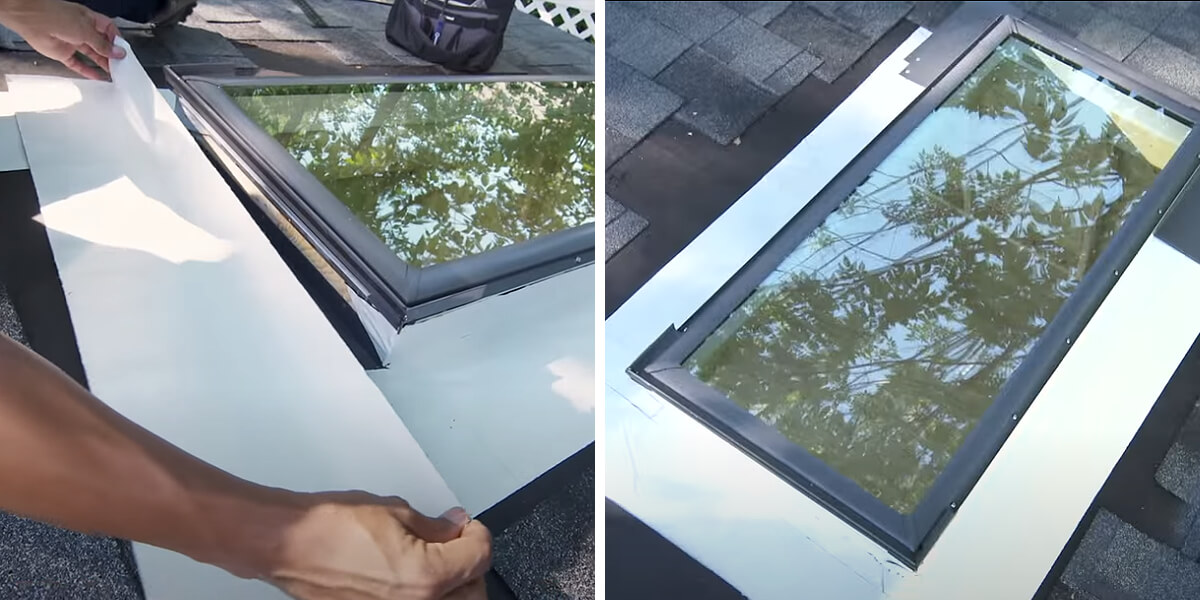
How to Flash a Skylight
The purpose of all roof flashing is to keep as much moisture as possible on the roofing material's surface.
Raising the skylight curb might be necessary to properly flash and roof around it. The easiest way to do this is to add one or two layers of 2-by-2-inch lumber on top of the existing curb, which will also change the look of the skylight's interior.
To hide this additional framing, simply install trim boards measuring at least 1-by-4 inches over the existing drywall's edge. Most of the time, this will also improve what the interior skylight's shaft looks like, too.
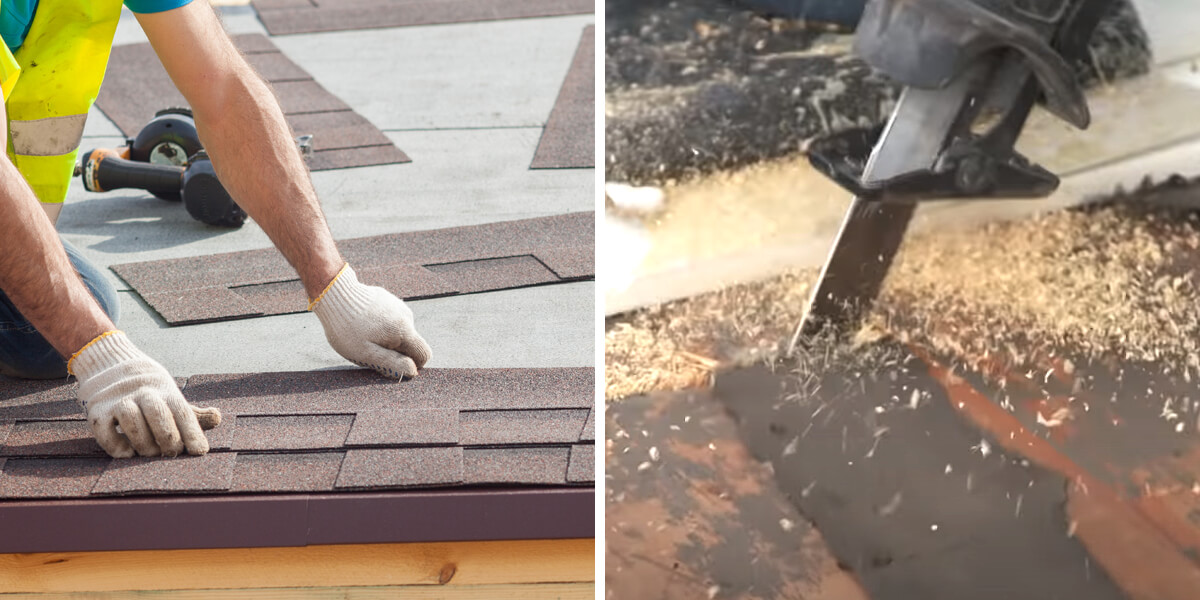
1. The first step is to remove the roof tiles or shingle around the skylight from the top down. Use a pry bar to break the seal between the tiles above, and then you can loosen the nails and pull them out.
2. Then, you need to remove the skylight to inspect the curb and repair or replace it.
3. Install peel and stick membrane to the bottom, sides, and top, in that order, and then do the same with the metal flashing.
How to Frame a Skylight
Frame the light's shaft wall with studs at 16 or 24 inches in the centre and nail this to the ceiling joist already in place.
Finish the shaft's interior with drywall or other finish material and insulate around the shaft to minimise air infiltration, condensation, and heat loss. Use either batt or rigid insulation.
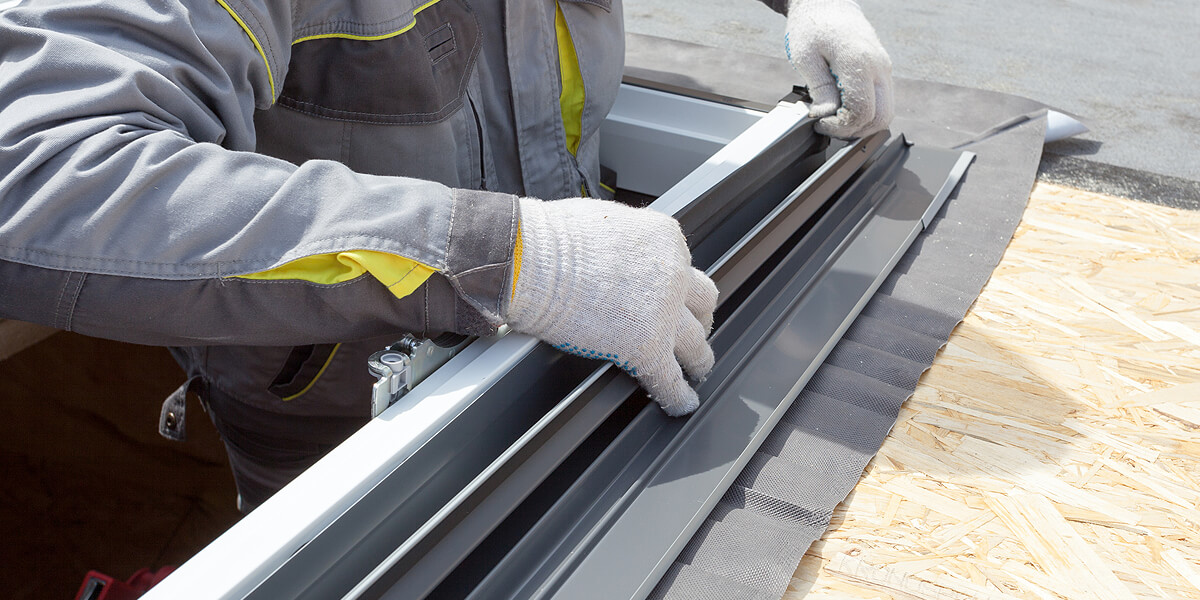
How To Install a Skylight on a Metal Roof
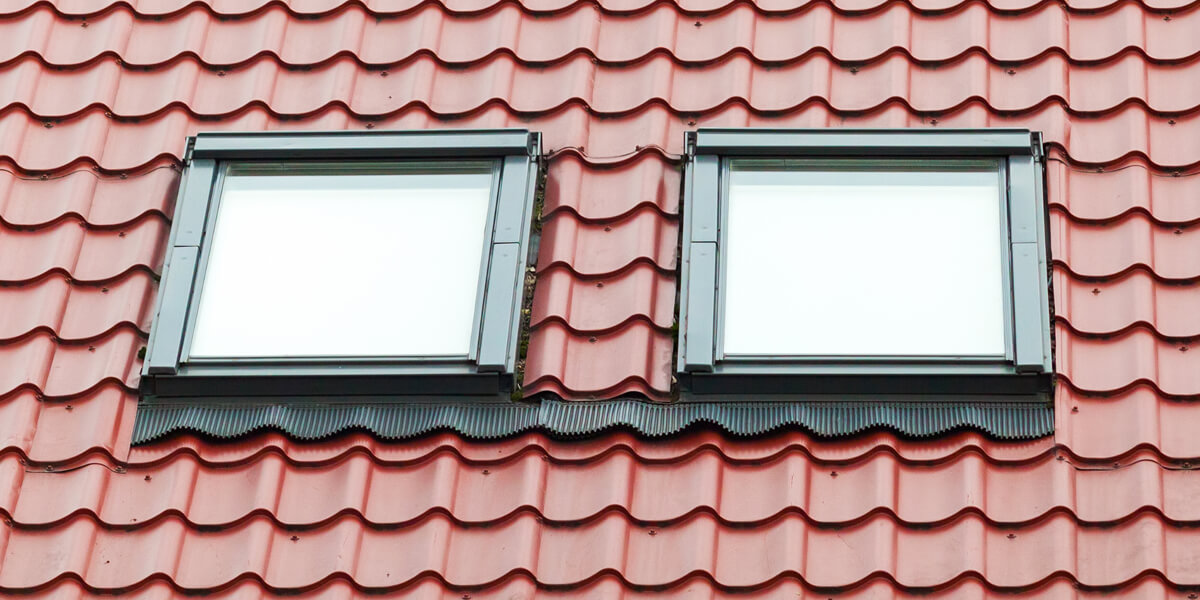
Skylights for corrugated metal roofs differ from those for shingle or tile roofs. Although it's possible for an experienced installer to retrofit and install a typical skylight on corrugated material, if you're a home improvement enthusiast, use one that's been designed for corrugated roofing.
1. Similar to any skylight installation process, the first step is preparing the area of the roof where you are going to be installing your new skylight. Wearing working gloves, place the unit in the desired location and align the grooves on the skylight's fins with those on the corrugated roofing. Make an outline of the outer edges with a felt-tip marker and set your unit aside.
2. Now, it's time to measure the fins' width of the skylight on each side, marking another outline on the roof. Disregard the larger outline and start removing the nails or screws from the metal roofing inside the smaller outline's area.
3. Using a 1/4-inch drill bit, create starter holes for a jigsaw blade at each of the outline's corners. Cut the outline with your jigsaw's metal-cutting blade, inserting its tip in each starter hole to cut the sides. Remove the cut-out outline.
4. Make a horizontal slit in the roofing at the upper corners of the opening. These will be necessary to slip the unit's upper fins under the existing roof to deal with runoff water. This means that the length of each slit will be the same as the width of its corresponding fins on the unit's upper sides.
5. Put a roofing-grade silicone sealant tube into a caulking gun and apply a generous amount of it around the roof's new opening, 1 inch from the recently cut edges. Insert the corners of the unit's upper fins into the slits on each side at the top of the opening. Slide up the unit until the raised flashing makes contact with the opening's lower edge. Press your skylight firmly into place on the roof.
6. Attach the fins to your roof with 1 1/4-inch self-tapping sheet metal screws at intervals of 3 inches. Drive the screws into the surface snugly with the drill's screw-tip attachment, and you're done! Now, you will be able to relax and enjoy your new skylight in the knowledge that it's all a result of your own hard work.
How To Cover a Skylight in Summer
If you want to control the amount of heat and light coming into your home over the summer months, you will have a couple of choices:
External Covers
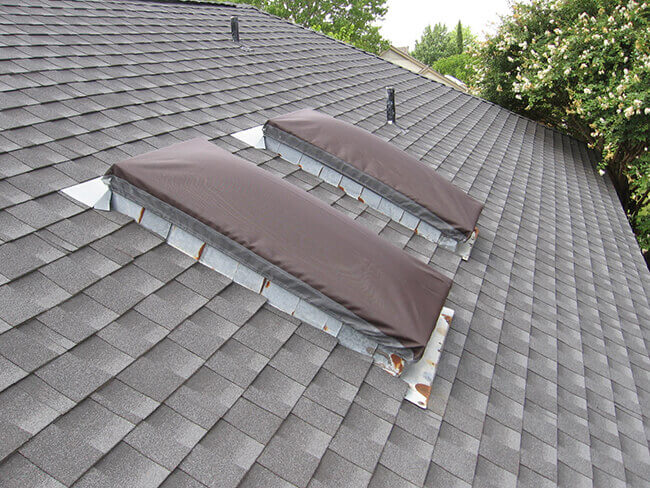
The cheapest way to cover up your skylight is often simply covering the light itself. This cover blocks the sun from entering your home, and you'll select the type of material and thickness thereof in accordance with how much blockage you need.
But as easy and cheap as external covers are, they're not the best way to control the light when the weather starts changing. They also require access to your roof, making placing and removing them during the summer months difficult for some people.
Thermal Blinds
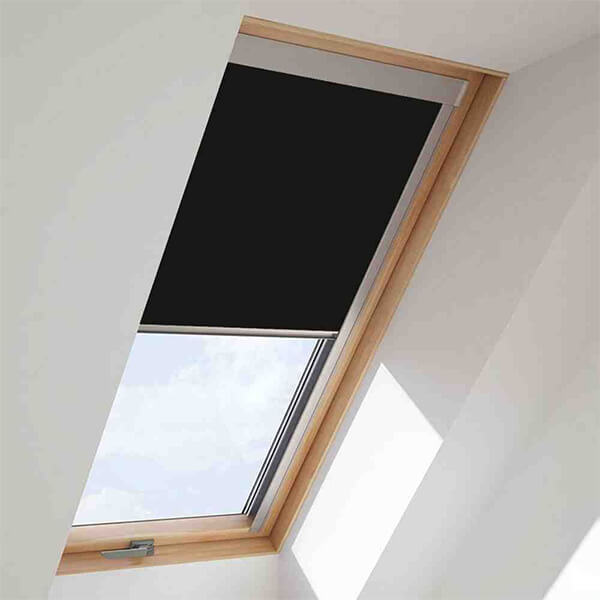
Thermal blinds are for roof windows only. Skylights are openings in the ceiling which allow natural light to flow from the outside to the inside. These openings can be covered with translucent or transparent material, which allows natural light into the room.
Roof windows are literal windows in the ceiling and thermal blinds are a wonderful way to block light and heat from entering your home for these. When they're closed you can enjoy an overall reduction of heat of as much as 76%.
Thermal blinds can be electric, or solar-powered, or manual and are easily altered, so you can control how much light and heat are getting in. They're also available in many different styles, so you're bound to find one that matches your home interiors.
UV Reflective Films
UV Reflective Film is thin and transparent and gets attached to the inside of your skylight. The film sends UV light back into the atmosphere and provides you with a flawless view of the sky, preventing too much heat and light from getting in and keeping things nice and cool. This film is also a great way to minimise glare and lets you use computer screens or watch TV without affecting your vision.
Unfortunately, UV Reflective Films often need expert installation. They are also kept up all year round and can't be altered or removed in winter when they may block out too much heat.
How To Fix a Leaky Skylight
Insulated glass frames are generally watertight, but over time, they can allow water to enter the window structure. This will force the frame apart and damage the seal of the insulated glass itself. If it turns out that this element of the skylight has failed, you may still be able to reseal it against further leakage. However, only removing and replacing the whole skylight will remove the condensation and opaque glass from a failed unit.
If the leak is at the point of the roof flashing, temporary repairs with roof flashing cement around the unit's perimeter might be possible. But you'll need to remove the tiles near your skylight to do a proper job. You'll need to install the appropriate flashing and then reinstall new tiles in that area. Most skylights have essential flashing or special flashing kits that have been specifically designed for the structure and the roof's material.
TIP: Use a can or tube of roofing cement to seal gaps or holes in the flashing, and apply a tube of 100% silicone caulking to seal any leaks around the lens. If this doesn't rectify the issue, repair or replace the metal flashing around the skylight's frame.
Disadvantages of Skylights
The biggest benefit of having a skylight in your home is all the natural light you get from them, especially in winter when there's less overall exposure and our bodies crave the natural light. No one likes being locked in dark, dim, artificially lit caverns on overcast days when the sun sets so soon after it rises.
A well-placed skylight can make a huge difference to your mood, and if you suffer from Seasonal Affective Disorder and can't get outdoors, a well-lit interior space can make all the difference.
In a colder climate, you will also enjoy a solar heating effect from your skylight - just make sure you get one with the highest possible solar heat gain coefficient. This SHGC tells you how much you'll get from a window or skylight, with numbers generally less than 1. Lower numbers mean your skylight will block more solar heat from coming in.
But these benefits come at a cost, as do most things. All the extra natural light and solar heat you will be getting are very welcome in winter, but when it comes to the warmer parts of the year, they can be much less so.
The main drawbacks of skylights are that too much light gets in on bright days, potentially leading to overheating or heat gain. Skylights can also cause heat loss in winter if the shafts are not sealed correctly, and they tend to leak more due to their positioning on the roof and having to face the full brunt of any storms.
However, all of these drawbacks can be mitigated.
A shade or cover can reduce light and sun, halting the potential for sun damage or overheating. Regular maintenance of a skylight can keep it in tip-top condition and ensure that no water gets in or leaks develop. And if heat is escaping, you can add rubber seals to keep the draught out and the warmth in.
A skylight can be a wonderful addition to your home, and even though it has drawbacks- just like everything else- it's certainly worth considering if you're looking to let extra light in.
Related Articles
Category
Doors & WindowsPosted On
31st December 2024