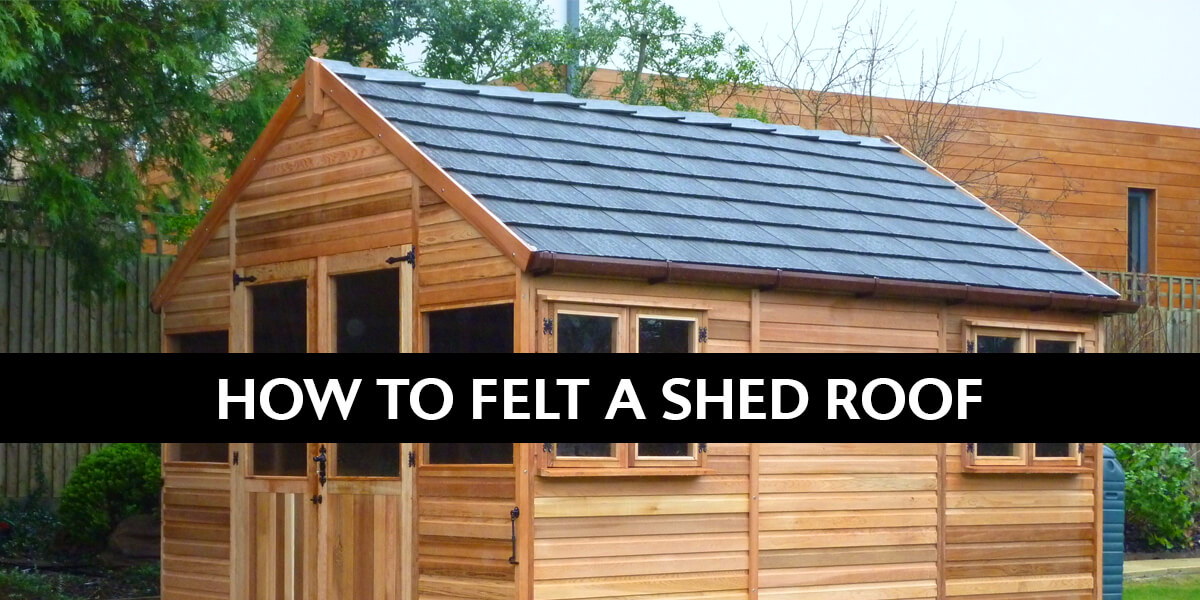
The day you see that your old shed roof cannot withstand any more exposure to the elements is a moment that makes many people's hearts sink. Installing felt on a shed roof may seem daunting, but it is not a difficult project when you have the tools you need as well as clear instructions you can follow.
This blog post aims to provide you with the latter – a clear set of instructions and tips that you can use to successfully felt a shed roof. As for the tools and other equipment you need, you can find them at Buildworld.
Before you start on your project, ask a family member or friend if they are willing to help you. It is always better to work on such a project when there is an extra pair of hands to assist with the few fiddly aspects of the job.
Why Felting A Roof Is Important
Made from a compressed cloth fibre base soaked in bitumen, shed felt is one of the most important components of your garden shed. The bitumen is the secret to its importance, as the substance makes the felt, and therefore your roof, waterproof.
Considering the amount of rain we get in the UK, to say nothing of the snow in winter and early spring, a properly waterproofed shed roof is essential. It is not enough to slap a few pieces of new felt over the old felt with a bit of glue, nor should you forgo the use of nails and glue all the felt down. If you want to install the product successfully, you will need to remove all the old felt, sort out any problems with the roof timber, and then use clout nails and adhesive where required.
Do not worry about the holes made by the nails allowing water into your shed. If you do not use too many nails, the bitumen will seal around them. You should use adhesive sparingly because the bitumen in the shed felt will expand in warm weather and contract in cold weather.
Not using too much adhesive allows it some give, which prevents it from tearing or cracking. If you install the new standard Green Mineral felt correctly, you probably will not need to replace it for at least five years, although you can extend that by applying an underlay. Other types of more durable felt can have a lifespan of up to 15 years.
The Equipment You Will Need
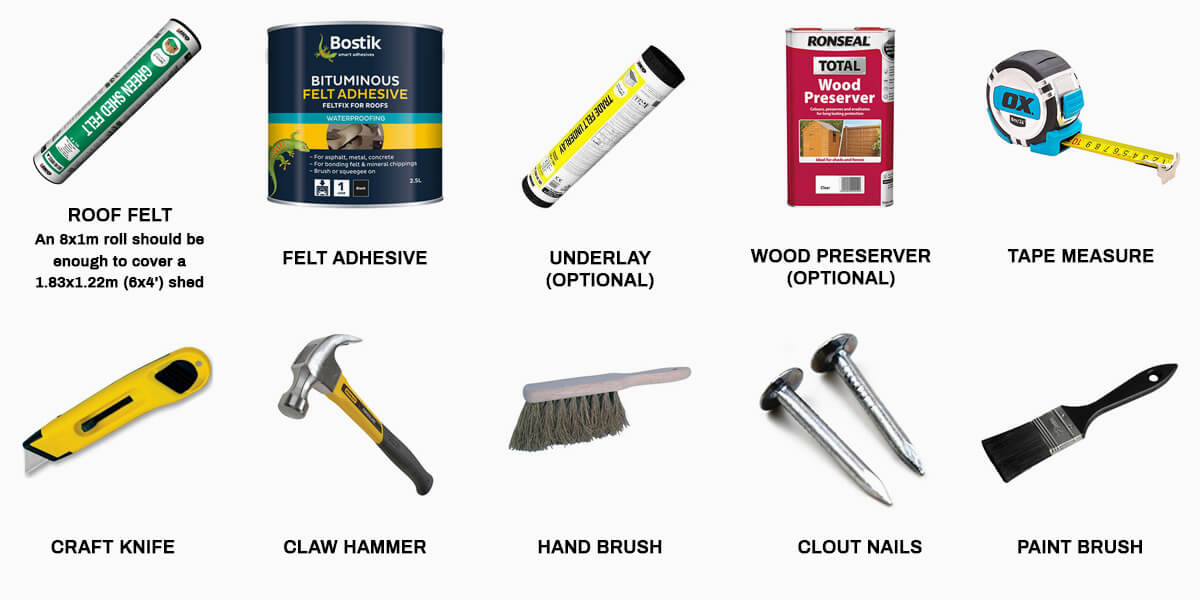
Make sure you have all the equipment and tools that you need before you start to felt your shed roof. Doing so means you will not have to leave your felt (or anything else) hanging while you rummage around for missing items.
The items you need include:
Remove The Old Felt Step 2
Inspect The Timber Step 3
Measure And Cut The Felt Step 4
Apply The Felt Step 5
How To Felt Shed Roof Corners Step 6
Reattach The Fascia Boards
Step 1 – Remove The Old Felt

Begin your shed felt installation project by removing any timber fascia boards and placing them where they will be out of harm's way. Next, use the claw hammer to remove the nails holding the old felt in place. Make sure you have removed all the old nails as well as potential obstructions or hazards.
Use the claw of the hammer and the craft knife to remove the old felt. You may need to rip it quite forcefully in places if adhesive was used, so take care not to lose your balance or your footing. When you have removed all the old felt, use the hand brush to sweep any dirt from the roof.
Step 2 – Inspect The Timber

Once you have removed the old felt and swept the roof, you should inspect the timbers for any damage or rot. Pay particular attention to where the old nails were, as that is where water damage most likely would have happened.
If you need to replace any of the timbers, now is the time. Even if all the timbers look sound, it won't hurt to give them a coat of fresh wood preserver. Allow the preserver to dry before you continue with the project.
Step 3 – Measure And Cut The Felt
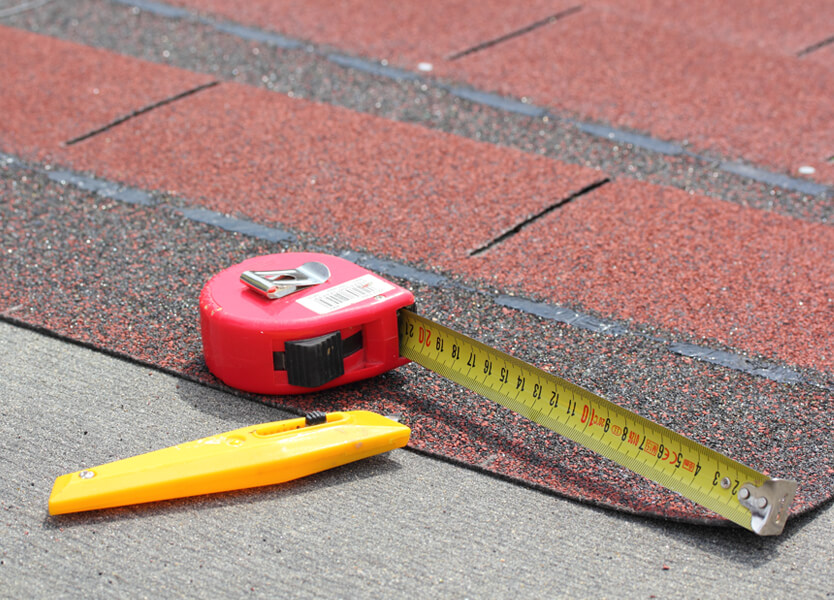
Use tape to measure the shed roof. Keep the measure taut so that it is flush with the roof. Add 5cm to each edge for the overlaps and 7.5cm to the gable ends.
You will need to cut three pieces of felt if you are working on a standard-size shed. Two of the pieces are for either side of the roof, while the third piece will overlap the panels on the sides. Allow 30cm for the overlap. If your shed is bigger than the standard size, you will need to cut a few strips of felt for each side of the roof. Start by fixing the bottom strip in place before moving to the middle strip, and then on to the top strip.
Step 4 – Apply The Felt
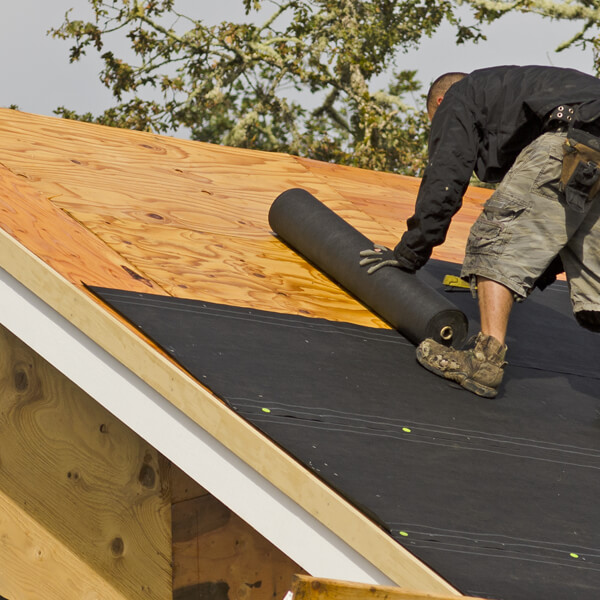
If you are using an underlay, apply it to the roof according to the manufacturer's instructions before you apply the felt. If you are installing felt on a sloped roof, be sure to start at the bottom edge and work upward. This ensures that rainwater runs over the top of the overlaps, rather than under them and the felt.
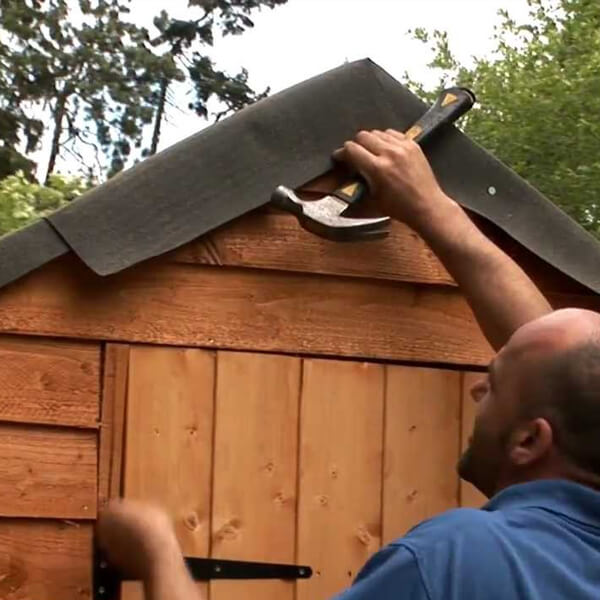
Hammer nails through the top edge of the felt at 10cm intervals. Start at the centre of the felt rather than at either one of the edges. Ensure you pull the felt so that it is flat against the roof. When you get to the bottom edge, hammer the nails in at 30cm intervals.
Next, secure the side panels and then start with the top section on the ridge. Use the paintbrush to apply adhesive to the ridge before you apply the shed felt, and then hammer nails into the lower edge of the top section at 5cm intervals.
Step 5 – How To Felt Shed Roof Corners
Installing shed felt to the roof corners is one of the fiddly parts of the job, so if someone is helping you, they will be especially valuable at this point. Start by folding the felt down at each corner.
Nail it into place before you use the craft knife to cut a slit in the overhang at the roof's apex. Fold the felt down along the gable, and hammer nails in to secure it at 10cm intervals.
Step 6 – Reattach The Fascia Boards
Once you have secured the corners, you can reattach the fascia boards by nailing them back into place. If any excess shed felt is showing, use the craft knife to trim it, making your shed roof look neat and tidy.
How To Felt A Lean-To Shed Roof
If you have a lean-to shed, you will follow similar steps. However, you need only one piece of felt to cover the entire area of the roof. If your lean-to shed is freestanding, you can cut a narrower strip of felt to run along the top edge, with a slight overlap to hand 5cm down the back wall. Follow the instructions for installing shed felt as given above.
How To Felt A Pent Shed Roof
Installing felt on a pent shed roof also requires similar steps to those given above for a standard garden shed. Use three felt strips, and then work your way from the bottom of the roof to the top. Ensure you secure the felt all the way around the edges of the roof. Do not fit fascia boards at the back of the shed, as it will hold water.
Repairing The Shed Roof Felt
It may happen that a small section of your shed roof felt gets damaged before you are due to replace the felt. In such cases, you do not need to replace everything, which is why it is a good idea to keep any scraps of shed felt left over after an installation.
The first thing you should do is check the entire roof to make sure the rest of the felt is in good condition. Then clean the area around the damaged section to ensure it is free of dirt, grit, and obstructions. Cut a piece of felt to cover the damaged area.
If possible, cut a square or rectangular piece of felt that is 5cm longer on all sides of the damaged area. You do not necessarily need to nail the felt into place. Instead, you can apply adhesive around the damage, and then press the piece of felt into place over it.
Find What You Need At Buildworld
With Buildworld's online store, you never need to look far for the equipment you need to install felt on your shed roof. We stock a range of felts, from standard Green Mineral felt used by most shed makers to heavy-duty products that withstand severe weather conditions such as strong winds.
We also stock felt adhesive, underlays, protection strips for eaves, and all the tools you need to install the felt, from craft knives, to claw hammers and clout nails. We also sell timber if you need to replace any of the roof timbers.
Related Articles