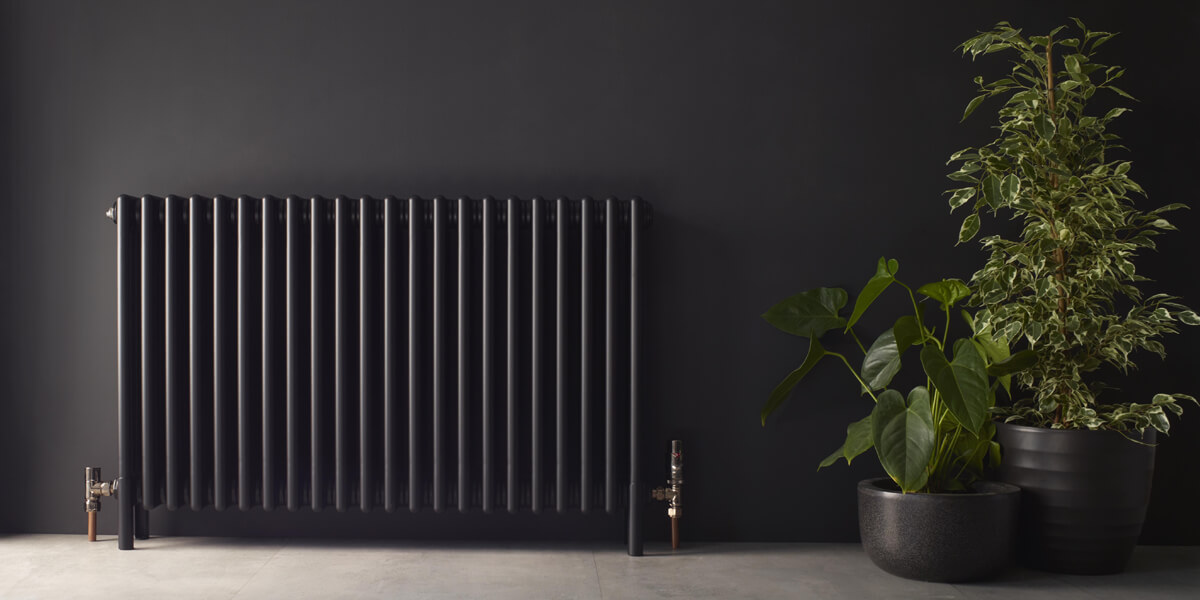
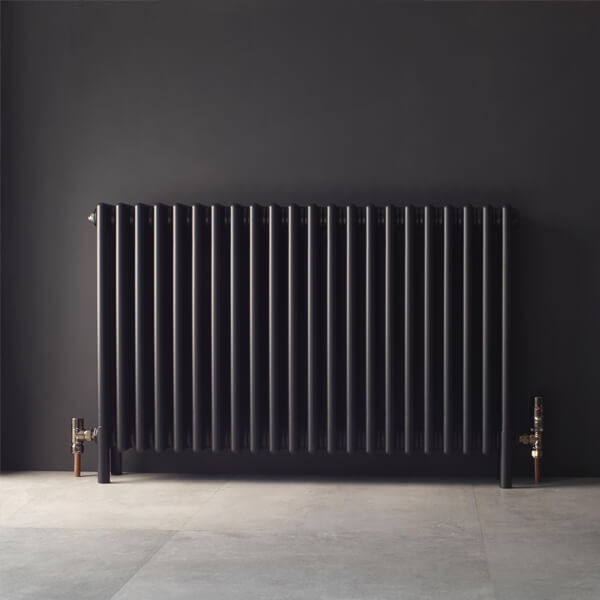
Painting a radiator can give the appliance – and the entire room – a whole new lease on life. You can paint it in a contrasting colour to make it an accent in the space or a neutral colour to blend in unobtrusively. Either way, painting a radiator is a fun, manageable DIY project.
Our step-by-step guide will take you through the entire process.
1. Choose Your Paint and Primer
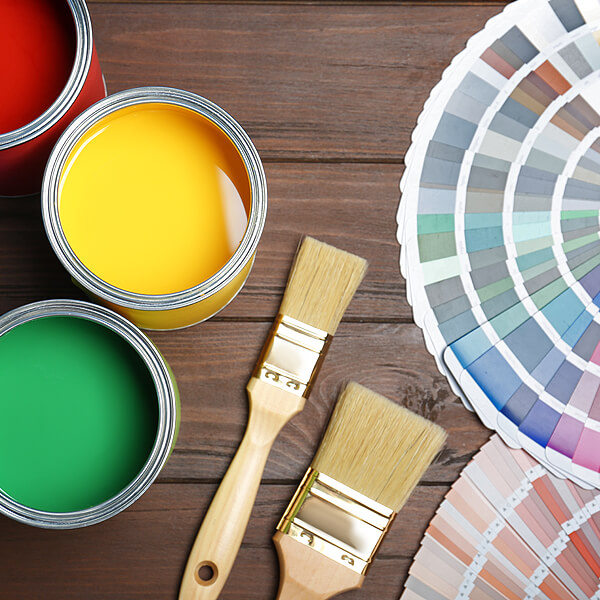
Oil-based primers work well on radiators, and there are several paint options for you to choose from. Often, the paint that people end up choosing is down to colour – there are different ranges available in the different paints.
Special radiator paint is available in a limited selection of shades, in both spray and brush formats, as are the primers. Solvent-based paints work well, too, and if you use a radiator overcoating, you could even get away with a standard emulsion paint. Just make sure that whatever you use can withstand high temperatures.
2. Prepare Your Radiator
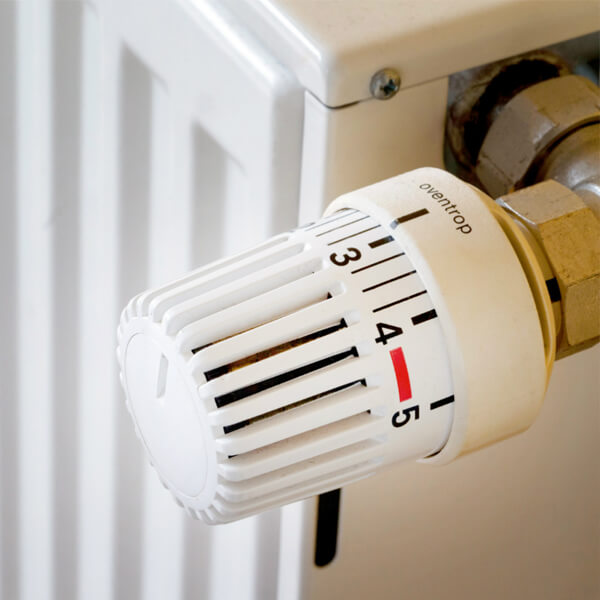
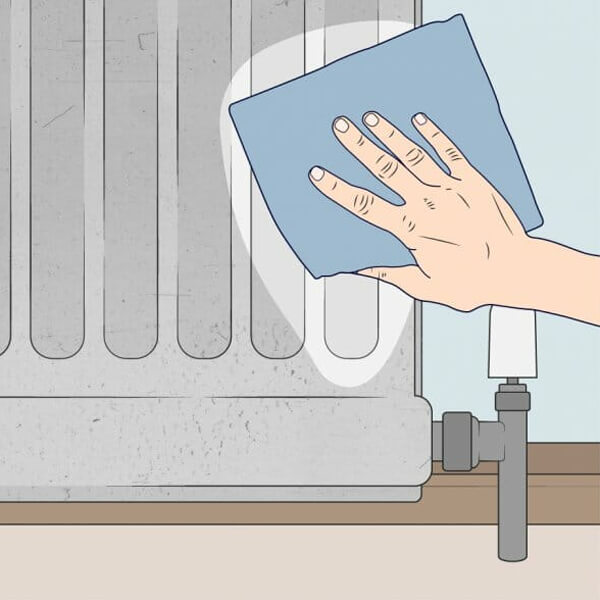
The first thing you need to do is turn your radiator off and set it so that it stays off. Allow it to cool completely, leaving it overnight if you can. If any heat is present, the paint won’t stick properly. When the unit is completely cold, use warm water and detergent to wipe it clean. You’d be amazed at how much grime can accumulate, no matter how often you clean your home!
3. Prepare Your Work Area
One thing that we should note here is that you need to pay attention to the weather in your work area. If at all possible, paint your radiator in spring or summer. You’ll need to keep it turned off over a few days, and the room you work in should be well-ventilated – both of which are undesirable in the dead of winter. Also, if you’re using spray primer or paint, it might be best to detach your radiator from the wall and continue the process outside.
Wherever you’re working, you need to make sure that all surfaces are protected and that there is as little dust as possible. Use a vacuum cleaner, put newspapers or cloth on the floor around the radiator, and cover the pipes with masking tape. No matter how careful you are, you’re likely to drip at least a little paint.
4. Sand Your Radiator
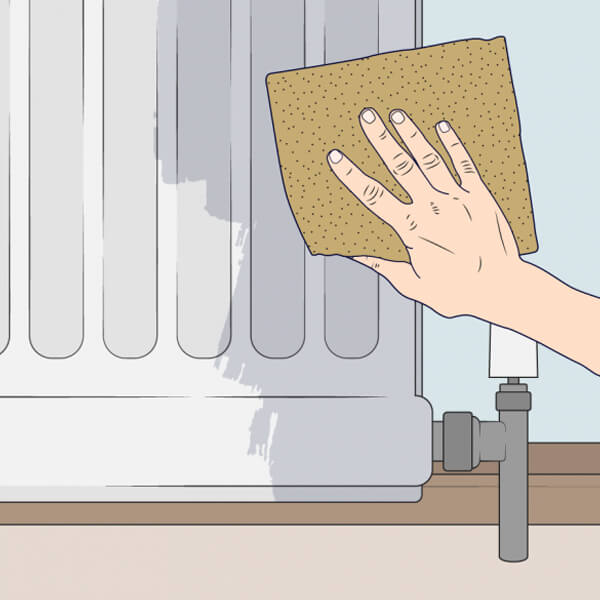
Use a variety of sandpaper grit grades to get rid of rust spots and make the surface a little rougher so that it takes the paint better. Start with a 40- or 60-grit course and then move on to a finer, 80- to 120-grit sandpaper.
When you’re finished sanding, wipe the radiator with a wet cloth and vacuum again, to clear away the particles that fell during sanding. Leave the unit to dry completely before moving on to the next step.
5. Apply Primer
Primers are important for two reasons when you’re painting a radiator: they protect rust spots from getting any worse, and they provide a good surface for your paint to cling to. If you noticed several rust spots while you were sanding, an anti-corrosive primer is probably best.
If you’re using an aerosol spray, wearing a mask and gloves is highly recommended. Hold the can 10 to 16 inches from the radiator and spray a topcoat on all visible surfaces. Use a back-and-forth motion to get an even layer, and then let it dry as per product instructions.
If you’re using a brush to apply the primer, standard paintbrushes should suffice unless your unit is a strange shape. In that case, you might want to invest in an angled brush. Remember, the time and care you take is as important as the quality of the products that you use.
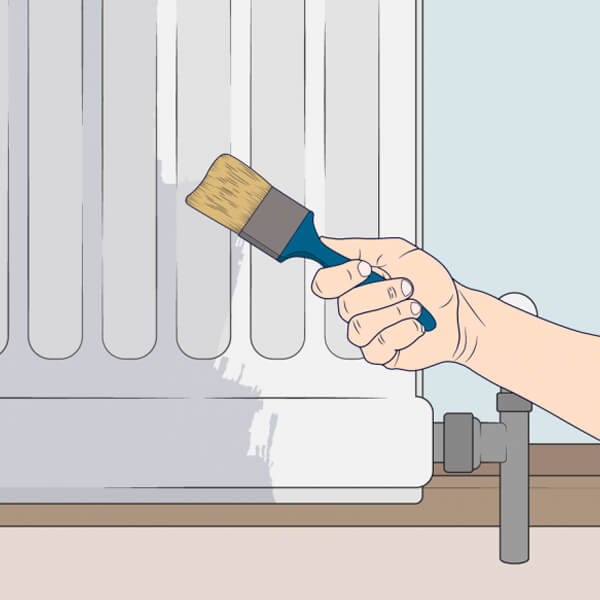
6. Paint the Radiator
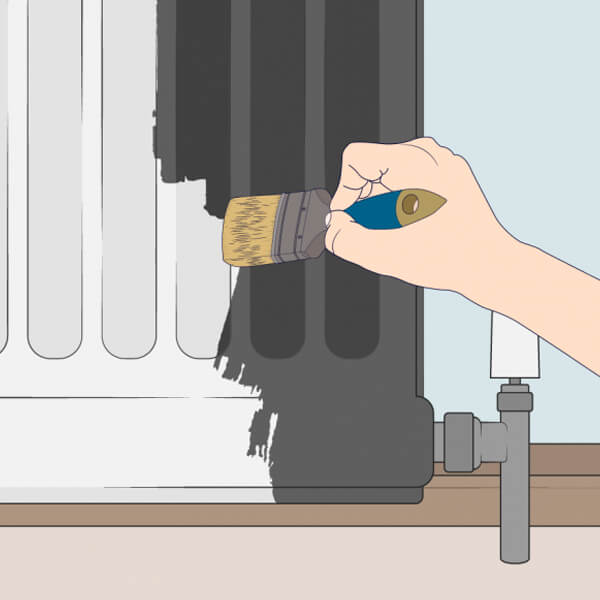
Get ready for your radiator to be transformed before your very eyes!
If you’re using an aerosol, hold the can in the same way that we advised for spray primers, and apply the paint in a back-and-forth motion. If you’re painting with a brush, start on the left and right edges and then move on to the appliance face.
To give you the best chance of a smooth finish, you should take care not to overload your brush. For the same reason, work in small patches and make sure you blend the edges of each area as you move on to the next one.
When you’ve finished the first coat, leave the paint to dry completely and then apply a second coat if your specific product says that you should, or if the colour isn’t solid or thick enough for your liking. If you’re using a normal emulsion paint, don’t forget that you also need to use a radiator overcoat.
7. Clean Your Workspace
If you removed your radiator to give it its new paint job, you can reattach it now. Remove all masking tape and clear away the ground covers and cleaning materials you used. If you’d like to paint the radiator pipes, you can do so following the same steps we outlined here, remembering that the pipes may take longer than the unit itself to cool down completely.
And it’s no problem if you want to change the colour in a few years, or even if the radiator that you want to cover now already has a coat of paint on it. You can sand it and then use paint remover to soften whatever remains in place – turning it off and letting it go completely cold first, of course. Scrape it off using a thin scraper – you may need to do this more than once, depending on how thickly the paint was applied.
From here, proceed as in the steps above.
If you have any questions about the paint, sandpaper, or other materials that you want to use on your radiator or have any other DIY queries, the expert assistants at Buildworld are more than happy to answer them! We’re here to help in any way we can so you can bring your projects to life.
Related Articles