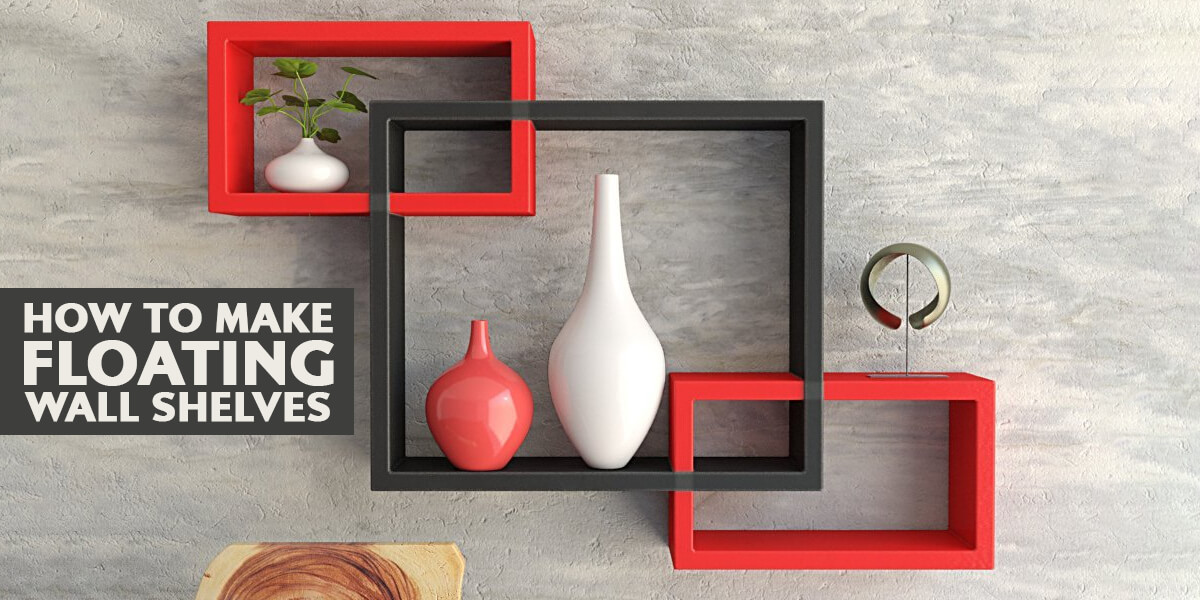
Floating shelves are a great innovation in storage. They're incredibly space-effective, meaning you can use them in little corners or areas of a room that need a little bit of storage, and you can use them to create a lot of storage in a small room or house. They're also very aesthetically pleasing, and you can do a lot with their design to turn them into a stand-out feature.
A true floating shelf looks like a flat surface that sticks straight out of the wall with no support. It will have no visible brackets, backing, or sides. However, you can also get a floating shelf with some brackets below or above it if you don't go for the hidden support style. To a purist, this isn't a true floating shelf, but it fits the same concept.
How Does A Floating Shelf Stay Up?
It's all about the support bracket. You fix a bracket with poles or support beams to the wall. The bracket must be the same width and height or slightly smaller than the shelf. The support beams will protrude straight from the wall, almost the same depth as the shelf. Your shelf then slots over those beams and is flush with the bracket (either straight up to the bracket or covering it entirely). The shelf will either be hollow in the middle or have holes drilled into it to match the support beams coming out of the bracket.
This is how a shelf can appear to hover above the ground at 90 degrees to the wall.
Different Styles Of Floating Shelves
Now, you can build floating shelves in so many different ways. They don't have to just be flat pieces of plywood, metal or glass that only sit perpendicular to the wall. The key is to stick to the idea of the hidden bracket and then let your imagination run wild.
There are so many different styles and ways to use floating shelves, for example:
Plain block shelves
These are great for small storage areas in bathrooms, bedrooms and studies. They look pretty and are highly functional for keeping things easily accessible but out of the way.
Picture ledges
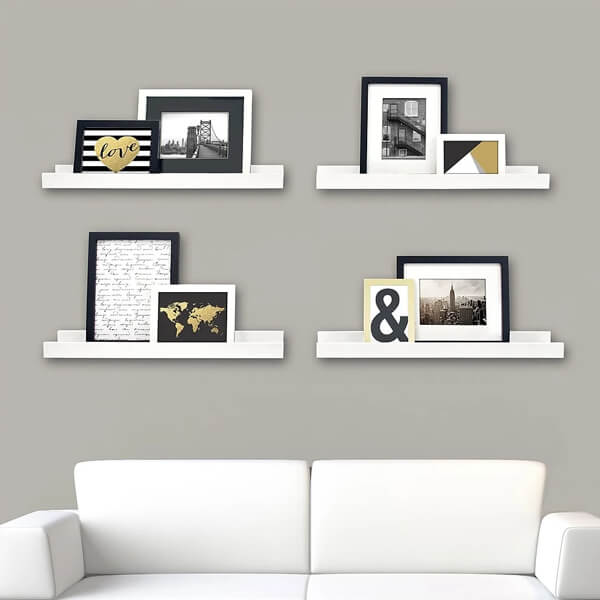
Here's a unique and interesting way to hang artwork. These shelves have a little ridge or lip on the outside edge so that you can lean paintings, prints, and other artwork up against the wall, and they won't slip off the shelf. The shelves themselves tend to be quite narrow in depth.
Window shelves
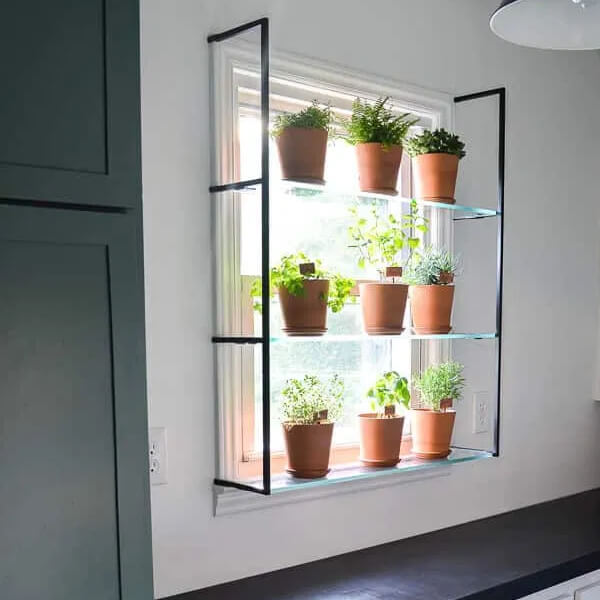
Looking for more space to pot plants in your home? This is a great way to do that. You put your floating shelves across your windows (be sure to use Perspex or glass so you don't block out the light), and then you can easily stack your plants that love direct sunlight.
Triangle shelves
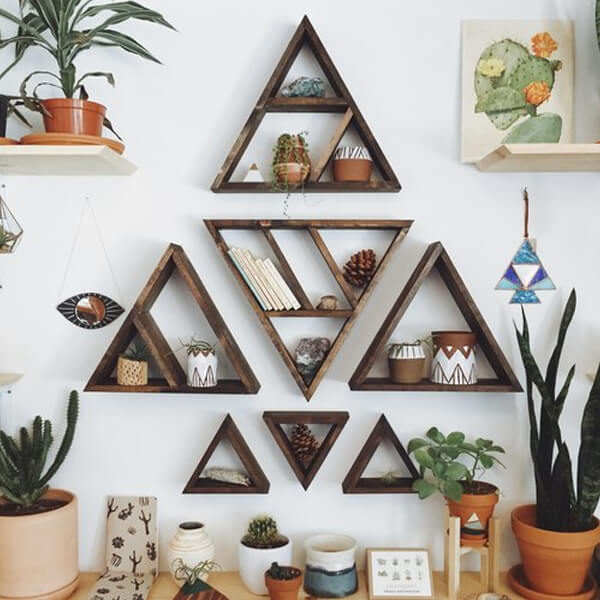
Make use of corners with funky triangle-shaped shelves. These look great for ornaments, photo frames and other decorative items. They also fill up what can often be dead space in a room.
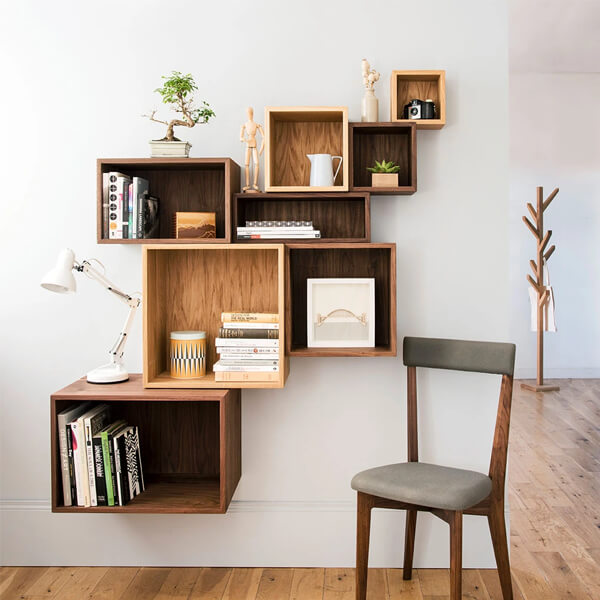
Unusual boxes for books
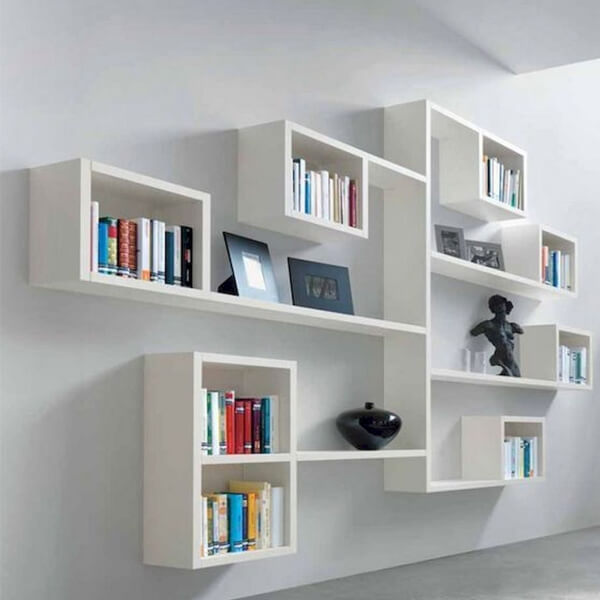
Create a box shape from your shelving material and then fix it to the wall at an angle. This gives you a great ledge for storing small collections of books and magazines, perfect for an office or living room.
Steps To Make Your Own Floating Shelves
Of course, there are many kits that you can buy, and many of them look great. However, they aren't likely to be imaginative or exciting. It's also a great DIY project to make your own – if you like to be handy around the home.
1. Plan Your Shelves

Always start with a plan. Map out your design in detail and make sure you have the exact measurements for the shelves. It's also important to know what wall you will put them on to ensure the shelf design will fit and that the wall is safe to put them on.
2. Get Your Tools Ready
Once you have your plan, it's time to get everything you need to assemble and put up your shelves. The simplest way to start with DIY floating shelves is to use wood – it's more forgiving and easier to use. Cut your shelves to size if you need to, and gather the following tools:

When it comes to your shelf brackets, you can go the full DIY route or you can buy these from a hardware shop. Metal brackets are a lot easier to use and are a little more forgiving. They also allow your shelves to handle a bit more weight than homemade wooden supports. If you want to go the whole hog and make your supports too, take the time to measure and match them to your shelves properly at each stage. This will save you a lot of pain and frustration when it comes to hanging the shelves.
Finally, you'll also need items to finish your shelves off in the style you want to. This may include an orbital sander or regular sandpaper, and wood oil or paint.
Now, you're ready to get started with building.
3. Prepare The Shelves
Sand down your wood to get a nice finish that can later be painted, varnished or coated with wood oil. Then, create a notch along the length of the back of each shelf. This will be the space that your brackets will fit into so that the shelf completely hides the hardware. Then, measure out where the brackets should fit into the shelf so that they give it the most support – a hand router is a great tool for notching these marks while measuring.
Finally, drill the holes into the back of the shelves at the measured point. Make sure you go deep enough into the shelf to accommodate the whole bracket but not so deep that you potentially compromise the integrity of the shelf. It's also essential that you make this hole as straight as possible otherwise you'll have trouble fitting the shelf to the bracket you insert into the wall. A paddle drill bit will help you be more accurate with your holes in the beginning.
Once you have the holes started and you're sure you're going straight into the shelf, you can switch to your drill press. Just remember to use a drill bit the same size as the brackets you are using on the wall. The holes should accommodate the brackets without any extra space around them.
4. Make It Pretty
Now, it's time to get the shelves ready for their final look. Proper sand before applying anything and a good primer if you want to use paint is a must. Otherwise, the finish will be very rough and isn't likely to stand the test of time.
Whatever you go for, make sure you prep the wood properly and give it time for any paint, varnish or oil to settle and dry fully before you put the shelves up on the wall. It'll be a lot harder to fix chips or damage to your finish, which can be caused during the hanging process if the finish isn't completely dry or soaked into the wood.
Remember, the hanging process might not be as simple as slotting the shelf onto the bracket – it all depends on how well you measured things out and how straight the holes are that you drilled into the back of the shelf.
5. Mark It Out
While your shelves are drying, you can get your brackets onto the walls and ready for them to be hung. Start by marking on your wall exactly where the shelves will go, and then work out where you need to drill holes. These holes will need to line up with the measurements of each shelf and where you drilled the holes for the support brackets.
If all goes well, the shelf should just slip onto the bracket and be ready for you to use. Just make sure that there is a snug fit over the brackets and that the shelf feels steady and doesn't move around over the bracket.
Why Do People Love Floating Shelves?
The main reason is their space-saving qualities. If you want to have a bookshelf or need a place to put your stereo on, but don't have the floor space to put traditional shelves or a table, floating options are the best bet. All you have is the actual shelf – no support structure that takes up precious room on the floor.
For a small flat or home, they are ideal to give you more functional storage without cluttering up your rooms.
Related Articles

Category
Doors & WindowsPosted On
9th January 2025
Category
Doors & WindowsPosted On
17th December 2024

