If you're looking at building an inside wall with a door, you might feel a little daunted. Don't worry, though; it can seem a little overwhelming at first, but it's actually a very manageable job. The easiest way to do it is with frame construction that provides structure rather than masonry wall construction (where you'd be adding layers of masonry or wood without framing support). We've got all the details on how to do it and what you'll need.
You Will Need
- Protective Sheeting
- Tape Measure
- Stud Finder
- Chalk Box
- Powdered Chalk
- Reciprocating Saw
- Safety Goggles
- Pre-hung Door
- 2-by-4 boards
- Circular Saw
- Pry Bar
- Hammer
- Nails (usually 3½-inch ones are ideal for these jobs, but you can discuss your needs with our friendly Buildworld assistants before you buy them)
- Utility Knife
- Hammer Drill
- Masonry Screws
- ½-inch Drywall
- Drywall Screws
- Joint Compound
- Drill or Power Screwdriver
- Drywall Tape
- Putty Knife
- Fine-Grit Sanding Block
- Shims
- Primer
- Brushes
- Paint
- Moulding
- Finish Nails
Frame the Wall
The first thing you need to do is frame the wall, which means you need to fit your materials together to create support, structure, and shape.
1. Lay down protective sheeting so that the floor doesn't get damaged.
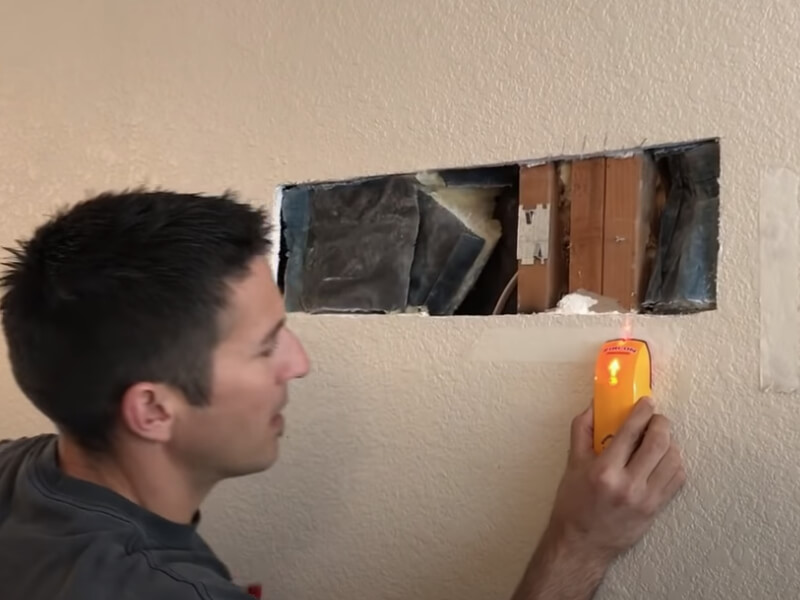
2. Use a stud finder to find the studs (the vertical members of wall constructions) in the existing walls that will be adjacent to the new one you are building. Attaching the end studs of the new structure to the existing wall's studs adds extra strength, so you'll want to find them and do just that.
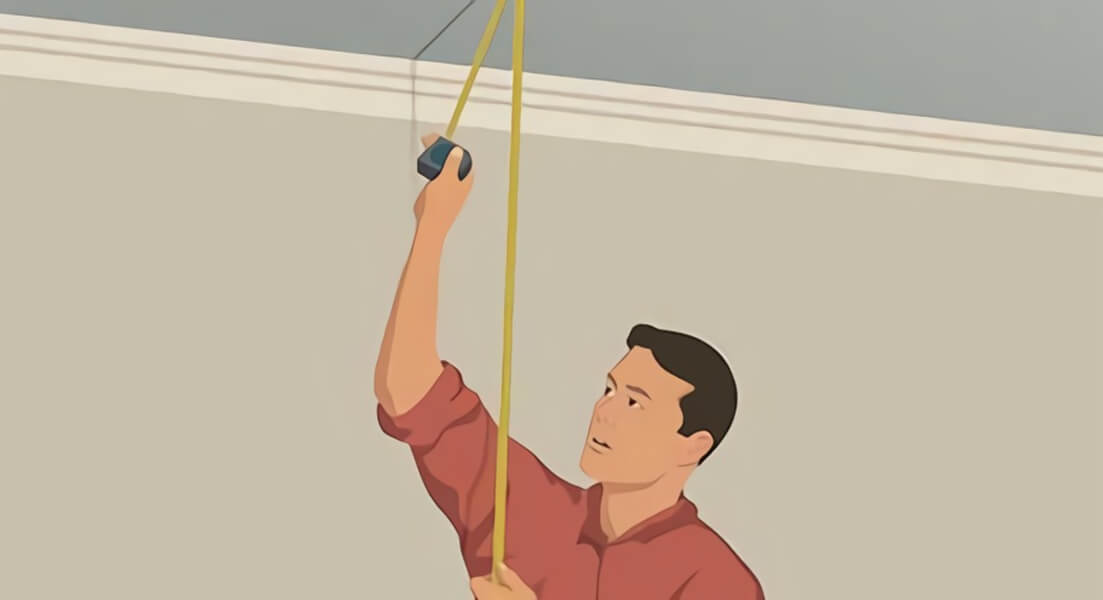
3. Mark the new wall's location between the existing intersecting walls by snapping a chalk line between them. Once you've loaded powered chalk into your chalk box, hold the string tightly and stretch it over the floor, then lift it straight up about four inches and release it to let it snap down. When you're done, reel the string back into the box.
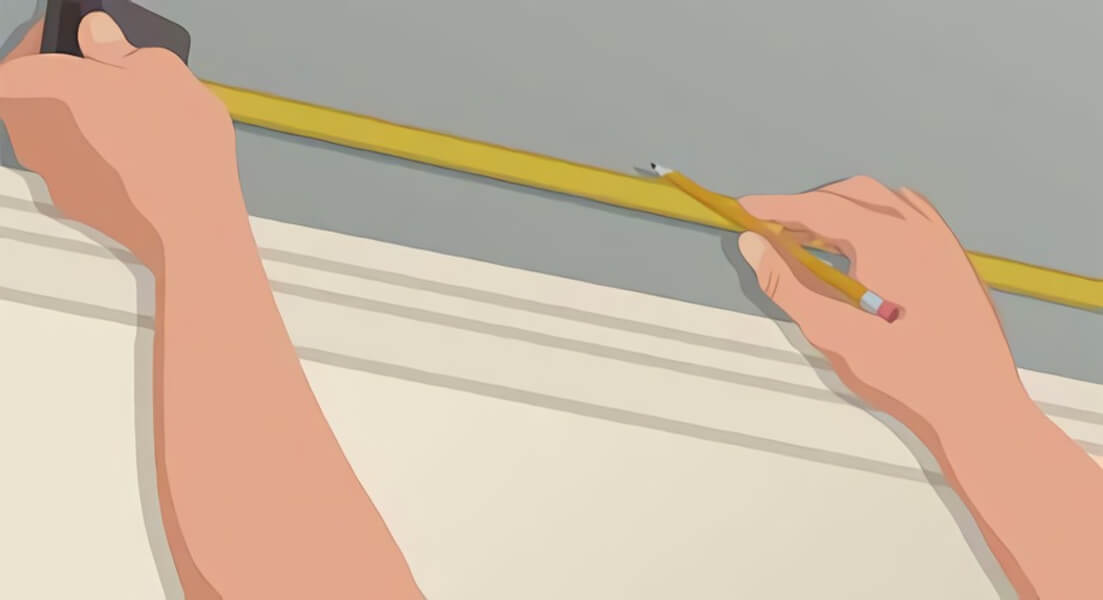
4. Check the positioning of your new wall by measuring the diagonal line between the end of the chalk line and the room's opposite corners. If the figures are the same, the line is square, and you can continue. If not, you need to erase the chalk line and snap a new one.
5. When you're sure that the chalk line is square, measure your pre-hung door's width. Add three inches to this number to account for the jack studs' thickness – the jack studs are the studs that are directly adjacent to the door on the left and right sides.
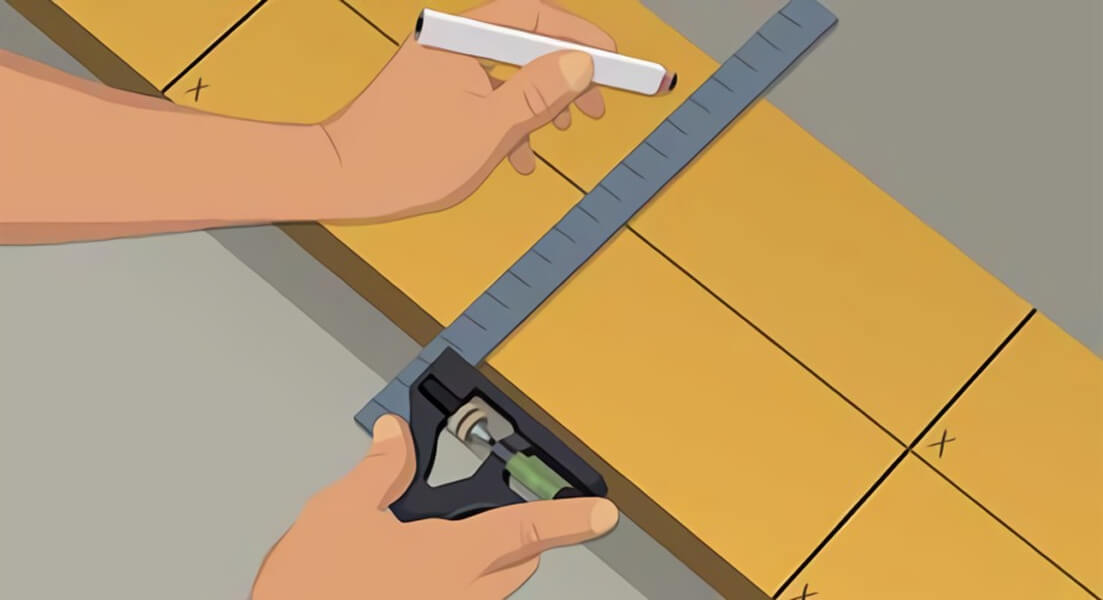
6. Remove four and a half inches of moulding from the existing walls where the new wall is being installed and will intersect with them. This space will accommodate both the studs and the drywall sheets that you'll use on both sides of the new structure. Use a reciprocating saw (wear safety goggles!) to cut the moulding off the wall, and then pry the material loose with a pry bar. The area of removed moulding should be centred over the chalk line, with two and a quarter inches on either side.
7. Cut bottom plates (also often known as sole plates) for the new wall using 2-by-4 boards and a circular saw. Each bottom place should be cut to fit the space between the spot from which you removed the moulding and the nearest door mark.
8. Cut a top plate in the same way, but measure a single plate to fit the entire space from where you removed the moulding on one wall to where you removed it on the other.
9. This next step only applies if you're installing a wall into a room with a carpeted floor. If your space has a tiled or wooden floor, move on to step 9. If you have carpet, you'll need to lay the cut top plate over the area of the floor where the wall will be installed. Run a utility knife along both sides to cut through the carpeting and the padding underneath, then move the top plate out of the way and pull the material up.
10. Stack the bottom plates on top of each other and measure the distance from the top of the stack to the ceiling to determine the height of the wall studs (the regular studs along the length of the wall) that you will use. Cut studs of the correct height from 2-by-4 boards with your circular saw. Cut enough so that, when you come to install them, the wall studs are 16 inches or less apart.
11. You're ready to start assembling the framing! At this juncture, lay the structure on the floor – putting it together is much easier this way. Nail the wall studs to your two bottom plates by driving nails (at least two) through the plate, from the underside, and into each stud. As you place the studs, they should be 16 inches apart at the absolute most. The easiest thing to do is start with the king studs (which are what the jack studs – remember them? – will be attached to) and then space the remaining studs evenly with no more than 16 inches between them.
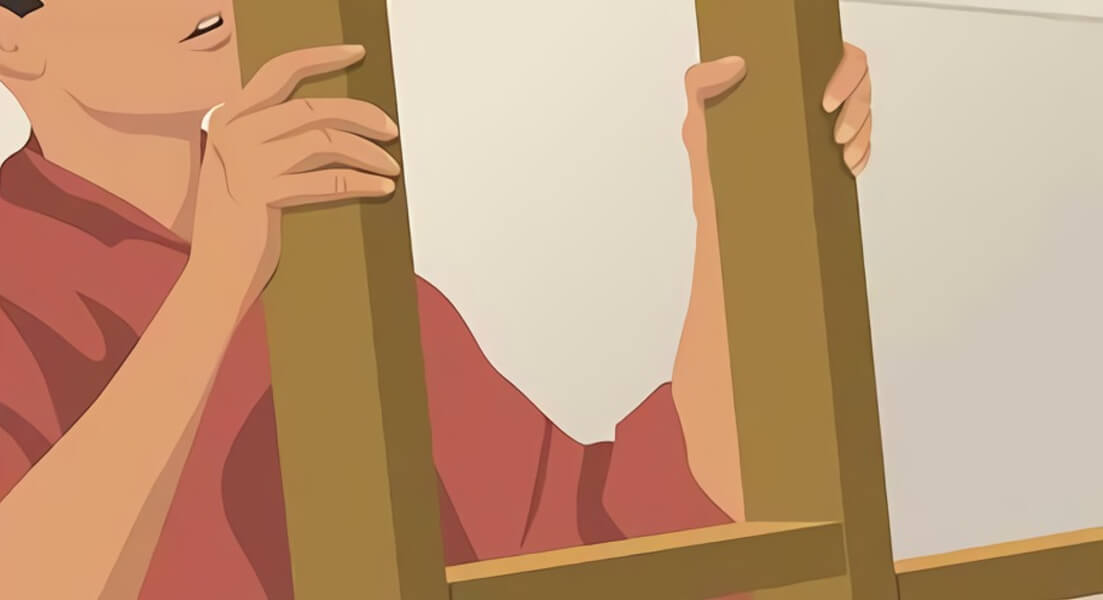
12. Place the top plate so that its bottom edge is aligned with the studs along the length of both bottom plates. At this point, the bottom plates should be properly spaced apart to leave room for the pre-hung door. Drive at least 2 nails through the top surface of the top plate to secure each wall stud. You can mark where to put the nails first, using more chalk.
13. Use your stud finder to locate the floor and ceiling joists (support beams) along with the new wall's position. Now you know exactly where to nail your frame for extra strength and support. Raise your new frame and get it situated properly – you'll probably need to call on an assistant or two for this bit.
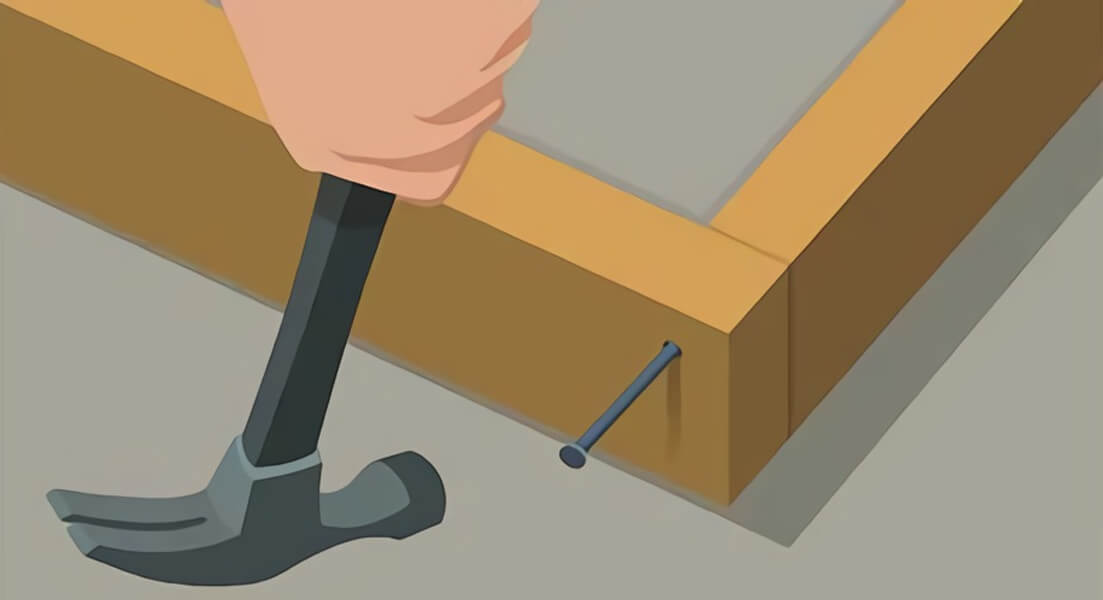
14. Drive nails into the bottom plates to secure them to the floor (if the floor is tiled, you're going to need to use a hammer drill and masonry screws), followed by through the top plates to secure them to the ceiling, and through the end, studs to secure them to the studs in the existing walls.
Complete the Framing for the Door
By this point, the framing is almost complete – so well done! Pat yourself on the back, and then get on with completing the structure so that you can install the door.
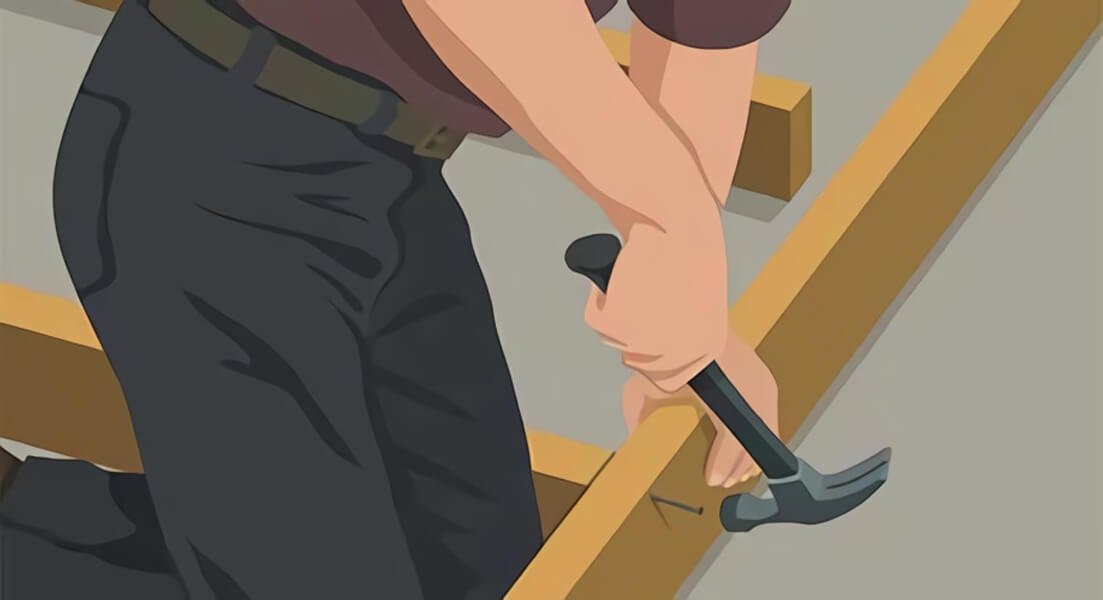
- Cut another 2-by-4 to fit between the king studs. This will act as the lintel and help preserve the structural integrity of your new wall and door.
- Measure and cut the two jack studs from 2-by-4 boards to fit between the lintel (otherwise known as a header) and the soleplate.
- If there is space between the header and the top plate, cut additional 2-by-4 pieces to fit here. These are called cripple studs, and once again, you should cut enough that the space between them is 16 inches or less. Position these and nail them into the top plate in the doorway.
Finish the Wall and Install the Door
Once the framing is complete, your next set of steps involves finishing the wall and, finally, installing your pre-hung door.
1. Measure and then use your utility knife to cut drywall sheets that will fit over your framing structure. Screw the drywall to the top and bottom plates, and the studs, with drywall screws and a power screwdriver or drill.
2. Apply joint compound where the drywall sheets meet to seal the seams using a putty knife. Place drywall tape strips into the compound and press it with the knife. Smooth the edges to blend the compound with the surrounding wall, to the left and right of the seams, and leave it to dry overnight.
3. Now, sand the joints with the fine-grit sanding block, taking care to wipe off the dust as you go along – a dry rag is all you need for this. Be careful not to press too hard as you sand since you might dig gashes into the compound if you do.
4. Apply another layer of joint compound, blending over the seams again, and let it dry overnight before repeating the sanding process. You might need to repeat this one more time, but you won't need to use drywall tape strips after the first application.
5. Centre your door between the jack studs, and check that it's square by repeating the diagonal measurement from all the way back at Step 3 of 'Frame the Door'. Place shims between the jack studs and the door, and then nail the door to the framing.
6. Paint the wall with a coat of primer and then two coats of paint, allowing each layer to dry thoroughly before applying the next one. Nail moulding along the bottom edge of the wall and around the door, using finish nails.
Congratulations, you've just installed a wall with a door! Hopefully, you've created some exciting new home or office spaces.
Related Articles