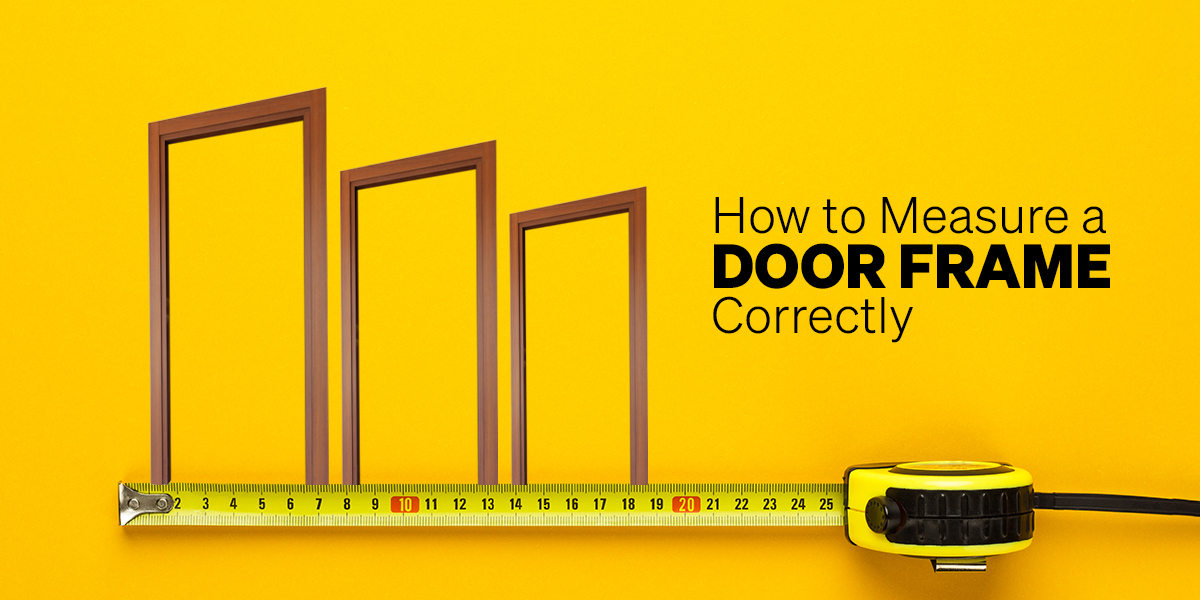
Accurately measuring door frames is vital in ensuring a seamless installation. From height to width, understanding the ins and outs of door frame measurement guarantees that the doors work as they should. It also prevents potentially expensive mistakes and saves you time, too.
Whether you're renovating or involved in a new construction project, correctly measuring a door frame is a fundamental skill you need to master. It ensures a snug fit and enhances the overall aesthetic appeal of any space.
Learn all about how to measure a door frame in our comprehensive guide.
Types of Door Frames
Door frames come in various materials, ranging from wood to metal, fibreglass, and uPVC. At Buildworld, you can find a variety of high-quality door frames, predominantly in hardwood and oak veneer, designed to fit most standard doors.
Measuring Tools for Door Frames
To accurately measure any type of door frame, you'll need:
Carpenter's Squares: This tool ensures that corners are 100% perpendicular for accurate measurements.
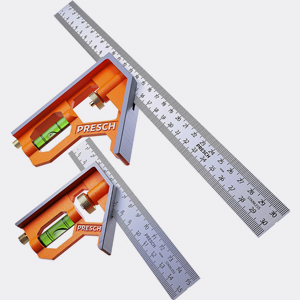
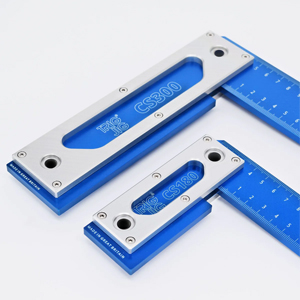
Combination Squares: These are useful for marking your door frame and checking that the right angles are correct.
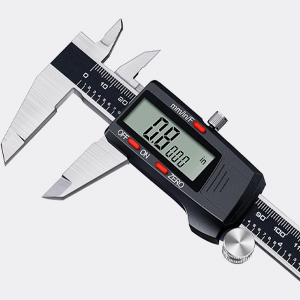
Digital Callipers: A digital calliper allows you to make detailed changes, precise measurements, and fine adjustments.
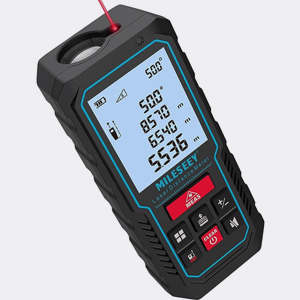
Laser Measures: Laser Measures provide quick, accurate measurements and are perfect for bigger projects.
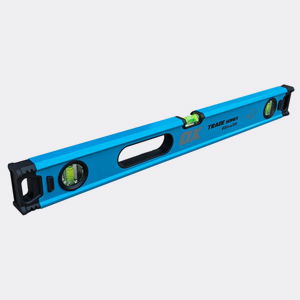
Levels: Levels ensure that door frames are upright and straight.
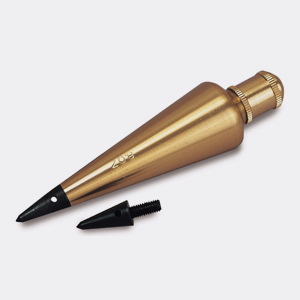
Plum Bobs: Plum Bobs verify vertical alignment, which is especially important when dealing with tall doors and/or uneven floors.
Scribing Tools: Use a scribing tool to help transfer the irregularities of floors or walls onto the door frame to ensure a perfect fit.
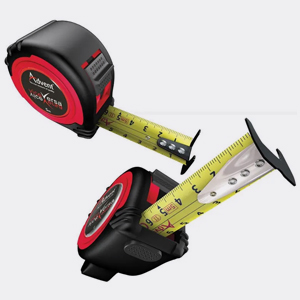
Tape Measures: The only way to accurately determine depth, height, and width is to use a tape measure.
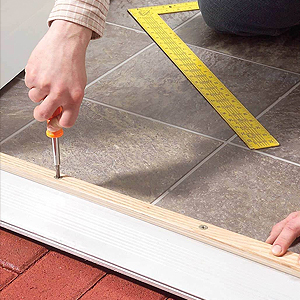
Step-by-Step Door Frame Measuring Guide
- Gather your tools.
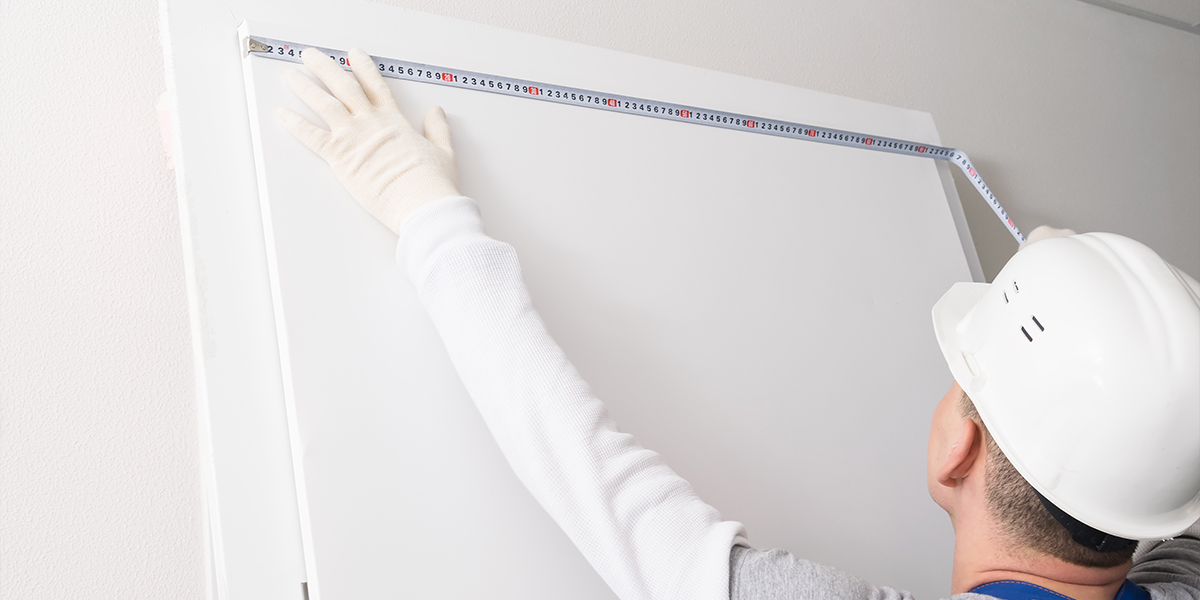
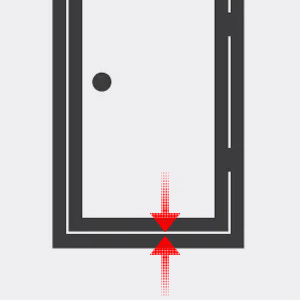
- Measure width. Take three measurements horizontally, at the top, middle, and bottom of the door frame. Record the smallest measurement.
- Measure height. Take three measurements vertically at the left, centre, and right sides of the frame. Record the tallest measurement.
- Check for squareness. Use the carpenter's square to ensure the corners are at 90-degree angles.
- Check for level. Place the level vertically and horizontally to ensure the frame is upright and straight.
- Note any irregularities. Observe any uneven surfaces or protrusions that may affect the installation.
- Double-check measurements. Confirm all measurements before proceeding to ensure accuracy.
- Record measurements. Note down all measurements carefully for reference during door selection and installation.
Measuring for Replacement Doors
When you're replacing an existing door, precision is key. Follow these tips for accurate measurements:
- Measure the width and height of the current door frame at 3 points: the top, the middle, and the bottom.
- Account for any irregularities in the door frame and/or surrounding walls.
- Consider the direction of the door's swing and the placement of the handle to ensure the door is properly oriented.
- Measure the door's thickness to make sure that the replacement is compatible with the existing frame.
- Check the clearance around the door to ensure it operates smoothly.
- Double-check each one of your measurements to prevent potentially costly mistakes.
Common Measuring Mistakes
Common door frame measuring mistakes include:
- Inaccurate Measurements
- Rushing or using improper tools that can lead to incorrect dimensions.
- Ignoring irregularities
- Failing to account for uneven walls or floors resulting in ill-fitting doors.
- Neglecting clearances
- Overlooking space for hinges, handles, and door swings, which leads to functional issues.
- Forgetting to check squareness
- Uneven corners cause misalignment, hindering proper installation.
- Misinterpreting dimensions
- Misreading measurements or overlooking details can results in incompatible doors.
Avoid these errors by using precise tools, measuring multiple times, accounting for irregularities, and consulting professionals if unsure. Double-check all measurements and consider all factors for a flawless door frame fit.
Measuring for Different Door Types
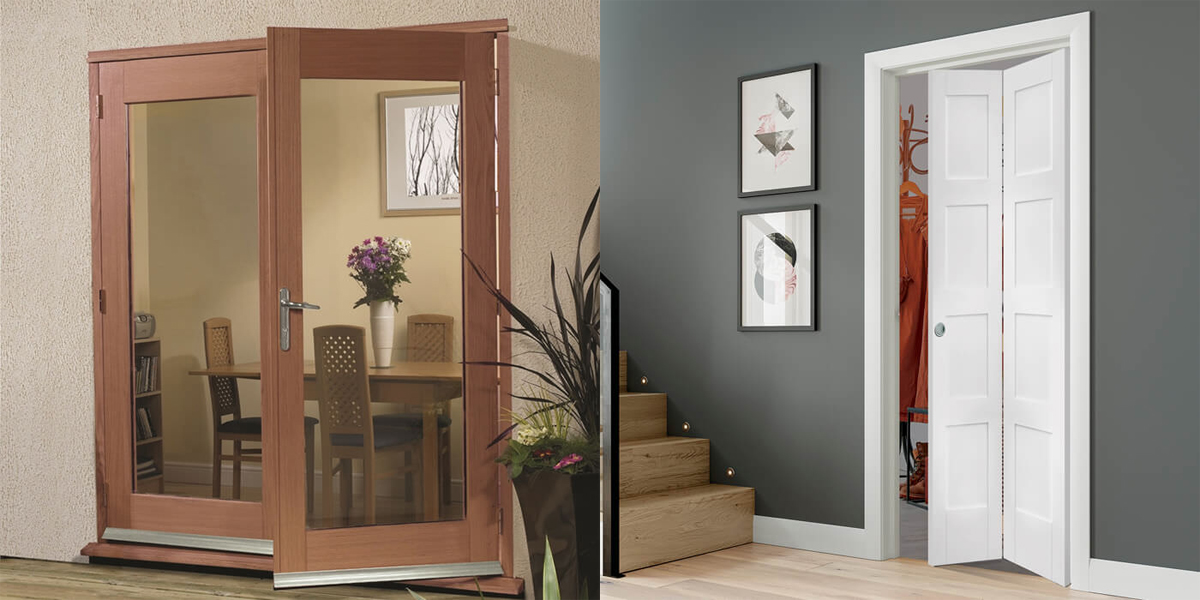
Depending on the type of door you are installing, you may need to adjust the way you measure or add on measurements to ensure the door fits flush. If you are installing double doors or French doors, ensure that you measure correctly for each door, even if the frame is a single unit.
Adjusting Measurements for Fit
To ensure a perfect door installation, follow these steps to adjust door frame measurements accurately:
Add Clearance: Account for the door's thickness and the space needed for hinges and handles when measuring the width.
Consider Swing Direction: Adjust the measurements to accommodate the door's swing direction, ensuring it doesn't obstruct nearby objects.
Account for Flooring: If the flooring is thick, raise the door frame height accordingly to avoid scraping.
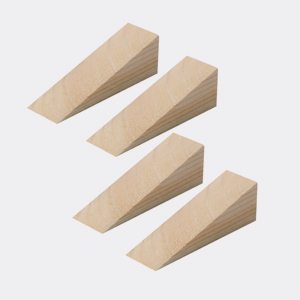
Shim for Squareness: Use shims during installation to correct any discrepancies in the frame's squareness.
Double-Check: Verify all adjustments before proceeding to ensure a snug fit and smooth operation.
Understanding Door Frame Terminology
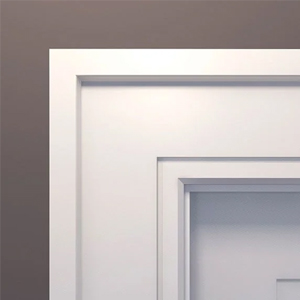
Casing or TrimDecorative moulding around the perimeter of the door frame that conceals gaps between the frame and the wall.
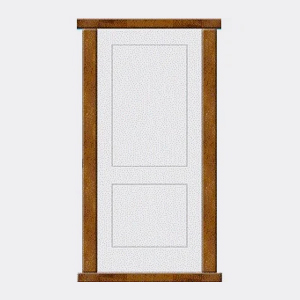
Door FrameThe structural framework surrounding a door that typically consists of 2 vertical jambs and 1 horizontal head.
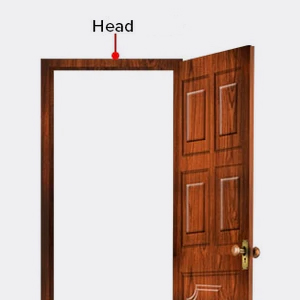
HeadThe horizontal top part of the door frame.
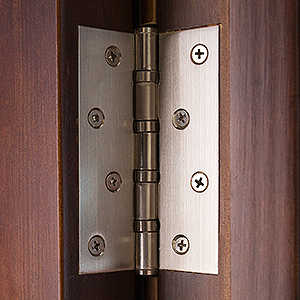
HingeA hardware component that allows the door to swing open and close, typically attached to the jamb and door edge.
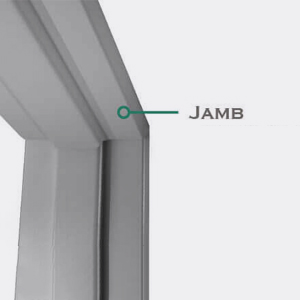
JambThe vertical side of the door frame, against which the door closes.
RevealThe space between the door and the frame when the door is closed.
StopA thin strip of wood or metal that prevents the door from swinging too far inward or outward when closed.
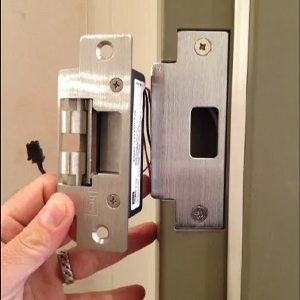
Strike PlateA metal plate affixed to the jamb where the latch or bolt of the door lock engages when closed.
ThresholdThe bottom part of the door frame, where the door rests when closed, often fitted with a strip to seal against drafts and moisture.
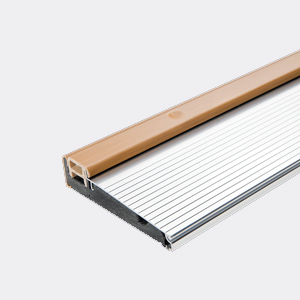
SillA horizontal component beneath the threshold, often used in exterior door frames to prevent water infiltration.
Measuring for Custom Doors
Follow these guidelines when you're measuring for customer doors:
- Measure the width of the door frame at three points: top, middle, and bottom. Take the smallest measurement to ensure clearance.
- Measure the height of the door frame at the left, centre, and right sides. Record the tallest measurement to accommodate any variations in floor or ceiling height.
- Measure the depth of the door frame to ensure compatibility with the custom door's thickness.
- Account for any irregularities, such as uneven walls or flooring, and adjust measurements accordingly.
- Add space for hinges, handles, and door swings when determining width and height measurements.
Conclusion
At the end of the day, it's all about precise door frame measurements. When you've accurately measured the door frame's depth, height, and width, you're ensuring that everything fits and works properly. Whether you are replacing an existing door or installing a custom one, measure precisely to avoid delays, expensive errors, and general frustration!
FAQ's
How do I account for door swing when measuring a door frame?
Stand facing the door and determine its swing direction (left or right). Measure from the outer edge of the jamb to where the door will rest when fully open. Add this measurement to the width of the door for inward swinging doors or from the inner edge of the jamb for outward swinging doors. Ensure adequate clearance for the door to open fully without obstruction, considering any furniture or fixtures.
What is the standard door frame size for interior doors?
In the United Kingdom, the standard residential door frame size for interior doors typically ranges from 762mm to 838mm in width and 1,981mm to 2,040mm in height.
How can I ensure my measurements are level and plumb?
Start by using a spirit level to check the horizontal and vertical alignment of the door frame. Make adjustments as necessary by shimming the frame until it's level and plumb. Be sure to double-check measurements at multiple points along the door frame to ensure accuracy and uniformity before continuing with the installation.
Can the same measurement techniques be applied to sliding doors?
Yes, the same techniques for door frame measurements can be applied to sliding doors. But you'll need to add certain considerations, like the dimensions of the track system and the clearance requirements. Measurements should also include the height and width of the door opening to ensure its compatibility with the panels of the sliding door.
What adjustments should I make for a door threshold?
When adjusting a door's threshold, make sure it's flush with the flooring. If it's too high, plane or sand it down; if it's too low, add shims or replace it with a thicker threshold.
How do I measure a door frame for a custom door?
Start by taking accurate width and height measurements at multiple points along the frame, accounting for any irregularities. Consider the desired clearance around the door and the swing direction, ensuring it fits smoothly within the space.
What are some common mistakes to avoid when measuring a door frame?
Inaccuracies in measurement due to haste or improper tools, overlooking irregularities in walls or floors, and neglecting to account for clearances needed for hinges, handles, and door swing direction are some of the common mistakes to avoid when measuring a door frame.
Related Articles