Measure twice and cut once – Carpentry Proverb.
When it comes to building or carpentry, size counts. That's why there is a myriad of marking and measuring tools to ensure corners meet, levels are flat, and surfaces are the correct size.
But while there are many fancy tools, they're not always necessary. It's important to ensure you have the basics in place first because they can help out in just about any situation.
Let's take a look at the marketing and measuring tools that every builder needs in their toolkit to cover any job:
Tape Measures
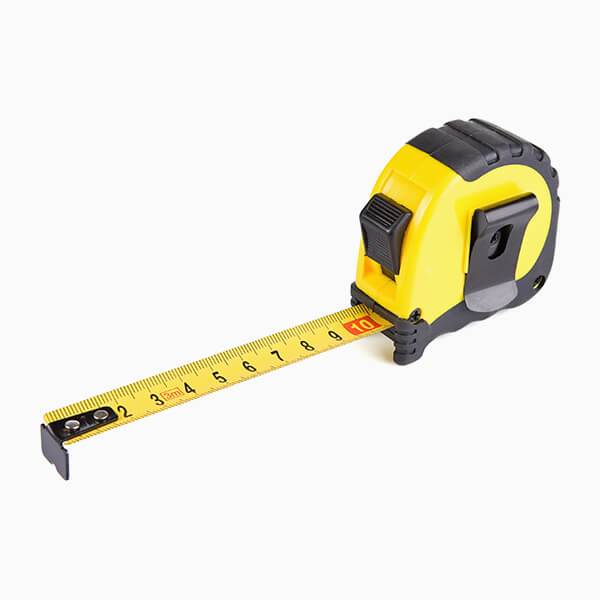
The simple tape measure is not so simple when it comes to buying one. It's an essential part of any toolkit, but which one should you get?
General Purpose:
If you're just starting and want to buy one tape measure that will keep you covered for most situations, then go for a 10m length hard option. This size is fairly lightweight and can be carried around, ready for use in on-the-go situations.
Buildings or large projects:
If you're on-site measuring the length of walls or property boundaries, a longer tape measure will be useful. Additionally, look for one that has a locking mechanism. This allows you to pull the tape out to the length you need and lock it in place while you make notes. A hook on the end of the tape is nifty because it makes things easier if you're on your own.
Multi-purpose projects:
You also get soft tape measures. They are bendable, making it easier to measure around corners and circumferences. Having one of these in your toolkit will suit a wide variety of construction projects and is the most versatile choice.
Steel Ruler
A classic ruler is a must when working on just about any project. These come in all shapes and sizes, and having a selection will help you take accurate measurements in any situation.
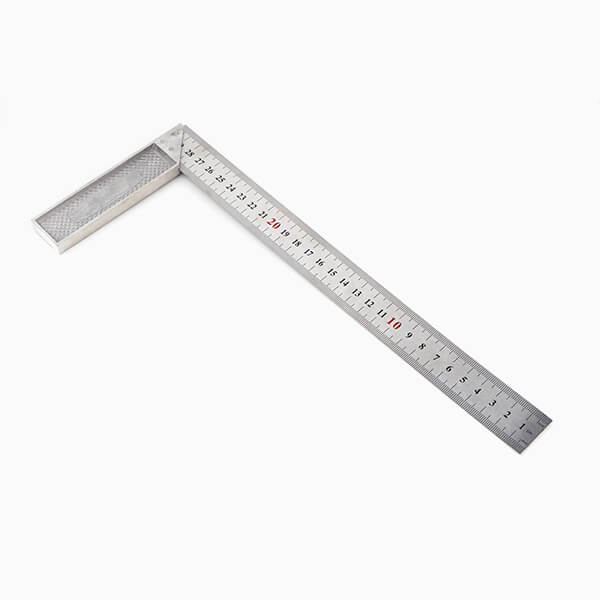
You get large, heavy rulers with no give or flexibility. These are useful for bigger projects, or if you need to weigh down the surface you're working on. Then, you get smaller, more flexible options. These tend to be accurate for marking more delicate sizes because the markings on the ruler are closer to the surface you're measuring.
It's important to get etched markings on your steel ruler and not stamped numbers. The latter can wear off over time – how quickly will depend on the quality of the manufacture. Etched markings will always be there and are much easier to read in dusty or dirty situations.
T-square and Combination Square
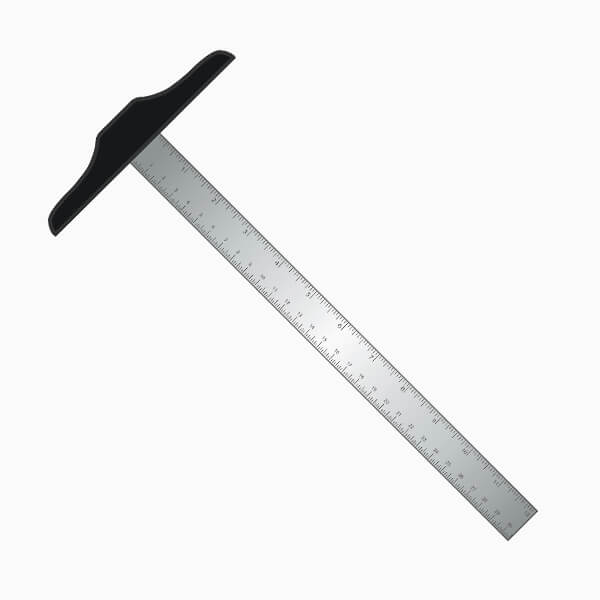
The T-square is a variation of a ruler and includes a crossbar on one end. This tool is often used in technical drawings to ensure that a line is completely parallel or perpendicular to another. It's also incredibly useful when working on projects to ensure that a line isn't just straight but also at 90 degrees to another.
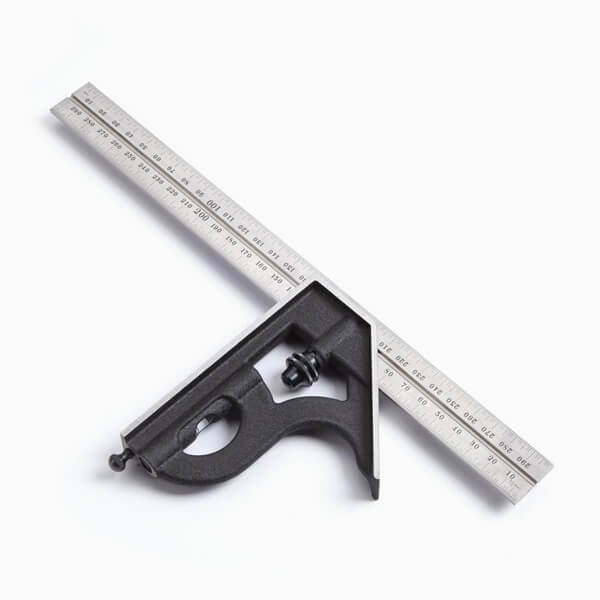
The combination square, on the other hand, is a more flexible option than the T-square. You can sometimes buy just the head or a series of heads to attach to a ruler, or you can get the full combination with a specific ruler to use with the heads.
The standard head that comes with a basic combination square can measure right angles and 45-degree angles only. Other heads include the centre finder and the protractor. The centre finder is used to find the middle of a round object, allowing you to draw and cut through the diameter. The protractor allows you to measure all angles from one degree to 179 degrees.
All of these different squares have their place in the workshop and on-site. The T-square is a straight, no-fuss tool you can pull out and use without checking if it needs to be adjusted to the right setting. The basic combination square head is also useful because once it is attached to the steel ruler, it doesn't need to be adjusted and you can get your angle measurements accurately each time. Then the more advanced combination square heads give you variety so that you can work in any situation.
Spirit Level
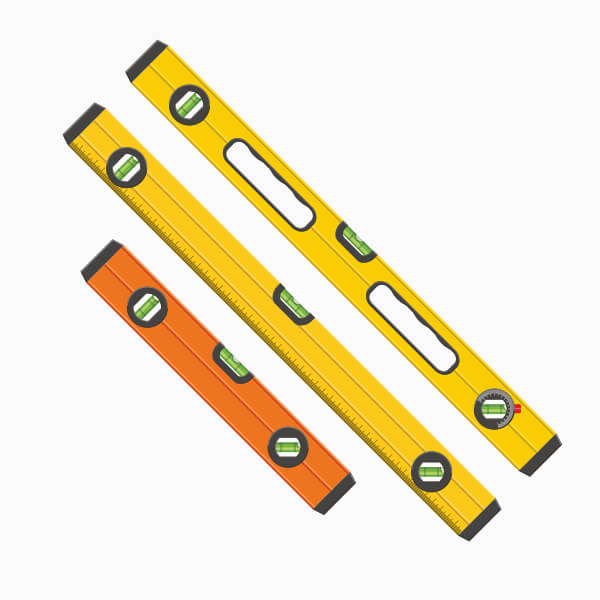
A large part of the measuring process is ensuring that things are level. A spirit level is useful in so many situations, including:
- Hanging doors
- Hanging mirrors
- Hanging artworks
- Hanging bookshelves
- Checking if a floor is flat
Spirit levels come in all shapes and sizes, but they all work on the same basic principle of using a bubble to indicate the slope of a surface.
The actual level element is a simple glass or plastic tube filled with coloured liquid (usually alcohol). This has a small bubble in it, and the bubble will sit in the centre when the surface is completely flat. There are also two indicator lines on the glass tube. For a flat surface, you should aim to keep the bubble in between those lines.
More complex or advanced spirit levels will have more than one tube on different planes. The centre one is usually for checking horizontal surfaces. Then, you get a vertical tube that can be used to check if a surface is completely 90 degrees to the ground (also known as a sitting plumb).
Some spirit levels come with a glass tube for measuring a 45-degree angle. They use the same setup as the horizontal and vertical tubes and can be very useful in a variety of building or DIY situations.
Marker
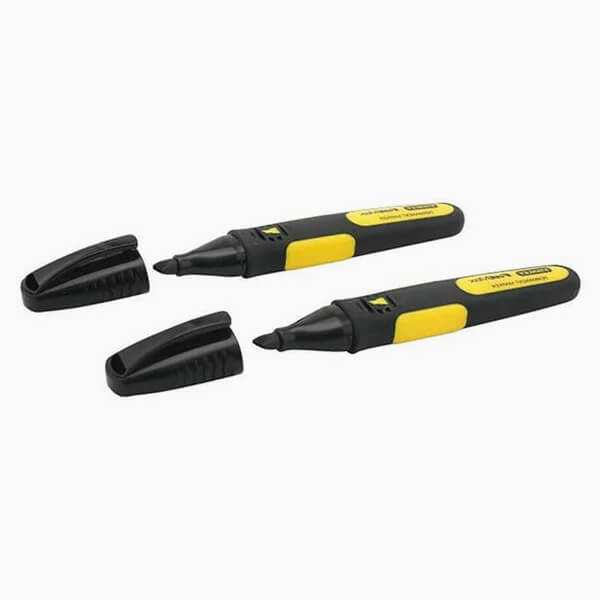
An essential part of any building project is being able to mark what you've measured. A mechanical pencil with a thick, sturdy lead will be useful on cement bricks, wood and some metal surfaces. The lead also remains sharp and narrow at all times and can be replaced with a click of the pencil if you break it off while working. This is handy if you only have one hand free for marking and don't want to waste time sharpening your pencil.
A carpenter's pencil is the perfect old-school solution, but it needs to be sharpened regularly, or it becomes very inaccurate. A thick line on a delicate project won't be very helpful. The good news is, for those who love to go traditional, you can get mechanical carpenter's pencils these days. You simply snap off the blunt piece and extend new, sharp lead as needed.
If you're working with wood or other pliable substances, a marking knife is also a good tool. You can score razor-thin lines into the surface and the point you want to mark. If you're cutting the surface at the point you marked, you don't have to worry about the mark being left in the finished product.
What About The Extras?
There are plenty of other tools for measuring and marking that you can add to your toolkit once you've got the basics.
You can invest in laser measures that digitally calculate the distance from A to B and give you the figures on the display. You also get a wide range of measuring tools that are designed for very specific jobs. However, these are not always necessary if you know how to properly utilise tape measures, spirit levels, and our other must-have marking and measuring tools.
Related Articles
Category
Doors & WindowsPosted On
31st December 2024Category
Doors & WindowsPosted On
19th December 2024