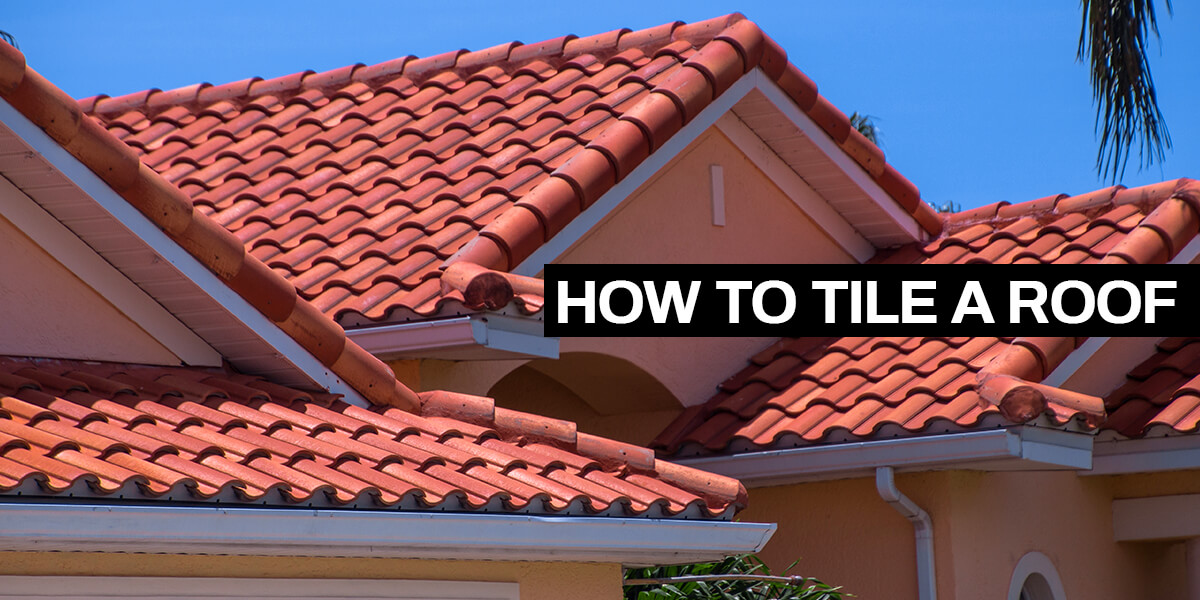
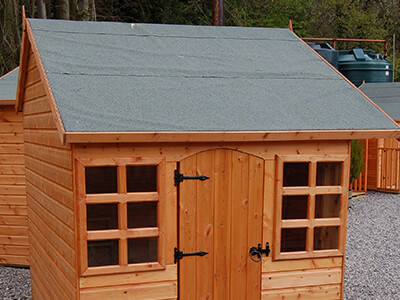
Learning how to tile a roof is not only quite simple, but it's also highly rewarding and sometimes very necessary for the upkeep of your home. Roof tiles are available in several sizes and provide long-lasting, weathertight coverings that keep buildings well-protected. If you'd like to – or need to – try your hand at tiling, read on. We've got all the details you need.
Choose the Right Roof Material Step 2
Calculate the Roof Area Step 3
Determine the Number of Tiles You'll Need Step 4
Assemble Your Tools and Materials Step 5
Prepare the Roof Step 6
Install the Underlay Step 7
Fit Timber Battens Step 8
Tile the Roof
Step 1: Choose the Right Roof Material
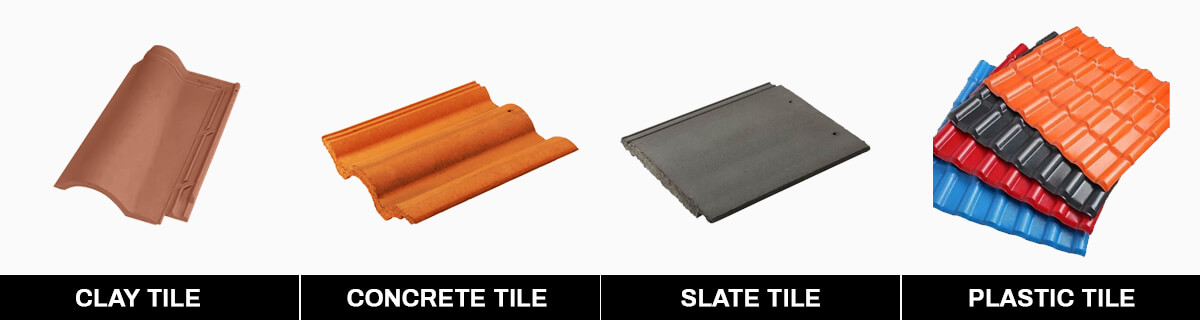
You can choose from many different tiles here at Buildworld, depending on your specific project and preferences. Your roof tile options include:
Think carefully about the final look you want and the conditions your roof will have to withstand. For instance, if you want the colour to hold fast for several years, you might choose something other than concrete tiles since these tend to face over time. In the same way, if you're concerned about the weight of the finished roof, lightweight plastic tiles might be a better option than heavy slate.
Clay Tiles
Clay roof tiles have been used for hundreds of years, and they remain a popular choice for the modern homeowner. They create a traditional, timeless look and are extremely hardy and long-lasting. And, since the tiles are relatively consistent in terms of colour and size, the overall appearance of your roof will be neat and attractive.
Concrete Tiles
Concrete tiles weren't always considered attractive, but the techniques used to cast them have developed considerably, and today, they're the first choice of many builders and designers. They come in a dazzling array of sizes, styles and colours, and are often used when environmental credentials are important since they're relatively friendly to the environment. If you're concerned about lowering your impact on the planet and want to live in an eco-conscious way, concrete tiles could be the perfect choice for you.
Slate Tiles
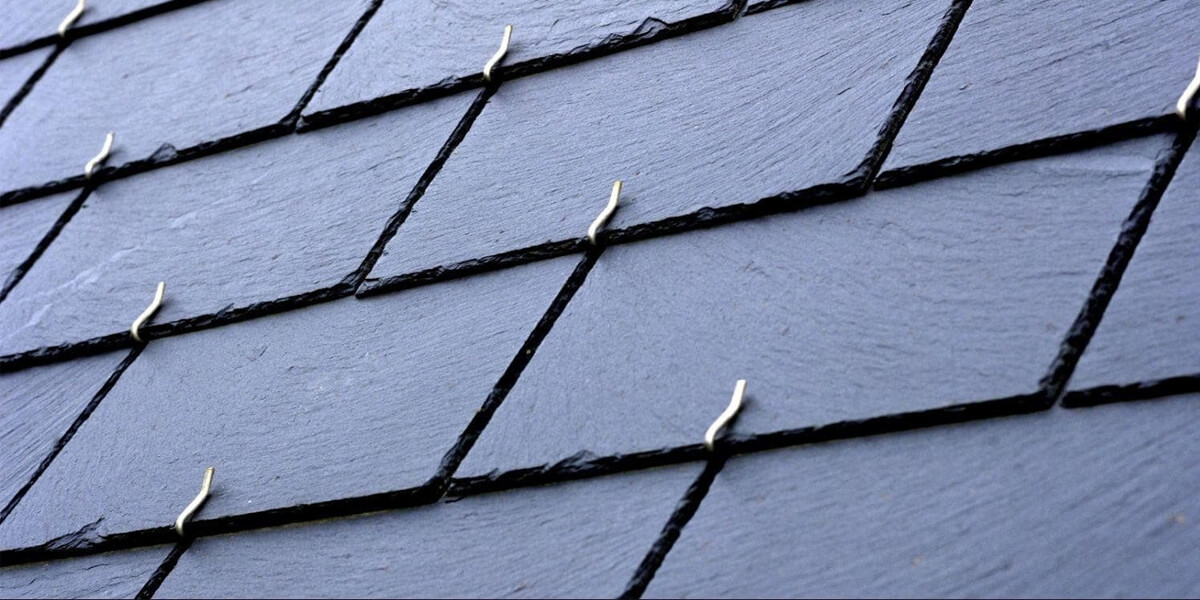
Slate tiles have a natural beauty that makes a strong visual impact on almost anyone who sees them, which is one of the reasons they are such a favourite with trendsetters. They have natural colour variations running through them, but when put together, the tiles still create a clean and crisp finish. The other reason they're so popular is that they are incredibly hard-wearing and can last 100 years or even longer.
Plastic Tiles
Plastic tiles are another popular choice among our eco-conscious customers as they're made from recycled plastic and are kinder to the environment. They're also lightweight and easy to handle, and come in a selection of styles, sizes, and colours. They can be made to look very much like traditional clay or slate tiles, without using as many natural resources.
Step 2: Calculate the Roof Area
Once you know what kind of tiles you want to lay on your roof, you need to calculate the area you wish to cover so that you know how many tiles you're going to need. To calculate your roof area, you need to know the length of your roof, which you can find out by measuring the length of the wall that sits beneath it.
Next, you need to find the roof slope height. You'll find this number on the building plans you obtained when you purchased your property, and if you can't access the plans for some reason, your local council should have this information. Now you're ready to determine the roof area by applying the following formula
Roof Length x Roof Slope Height = Half Roof Area
For example, if the roof length is 8.7 m and the slope height is 6.98 m, half the roof area is 60.73 m2. The total roof area is double that amount, or 121.5 m2.
Step 3: Determine the Number of Tiles You'll Need
Armed with the roof area of your project and the size of each individual tile, you'll be able to work out how many tiles will be required in total. Simply divide the roof area by the individual tile size, and you'll have a good idea of how many to buy. You can also check the manufacturer's guidelines, which usually give an accurate figure of how many tiles are needed per square metre of roof. We advise purchasing more tiles than the bare minimum since at least a few breakages are likely!
Step 4: Assemble Your Tools and Materials
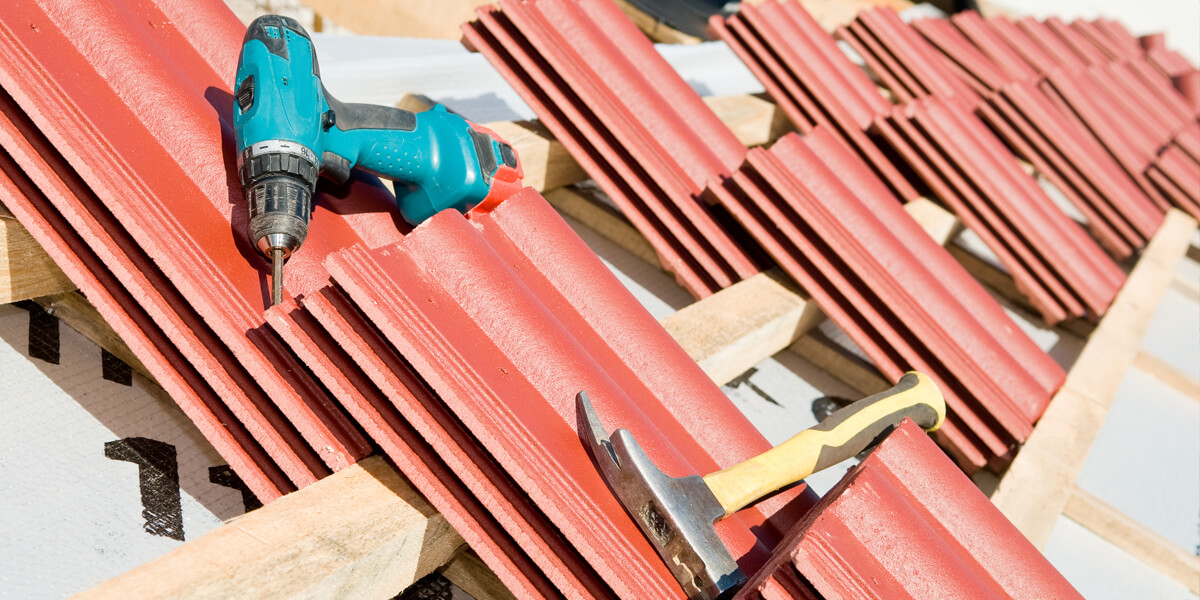
Or, to put it another way, make sure you have everything you need before you start! This list includes a ladder, a hammer, standard roof tiles, ridge and hip tiles for the corners and angles of the roof, timber battens, roofing nails, underlay, and sealant.
Think about the logistics of moving these items around so that you have what you need as you work through the roof-tiling process.
Step 5: Prepare the Roof
If you're working on a pre-existing roof, you need to prepare the area by removing existing roofing materials. At the same time, check the sheathing. If any of these strong wooden beards have been damaged or are missing, they need to be replaced and repaired. The sheathing is what supports the tiles, so it's vital to keep it secure.
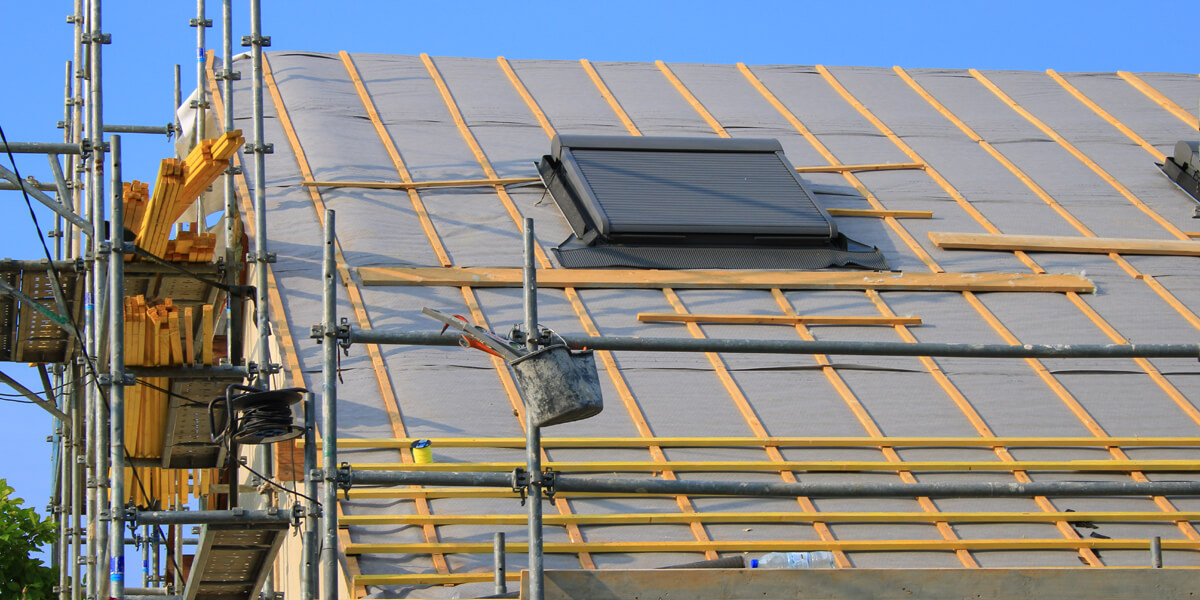
Step 6: Install the Underlay
Once the sheathing has been checked and improved as required, you're ready to proceed with installing the underlay. Work from the bottom eaves up to the top of the roof line, rolling out the underlay in parallel sheets.
Check that the sheets overlap the top of the roof and then secure them on the other side. You should also make sure that each roll of underlay overlaps the next, to create a seal. Nail the underlay to the sheathing, keeping the nails spaced about 50 cm apart.
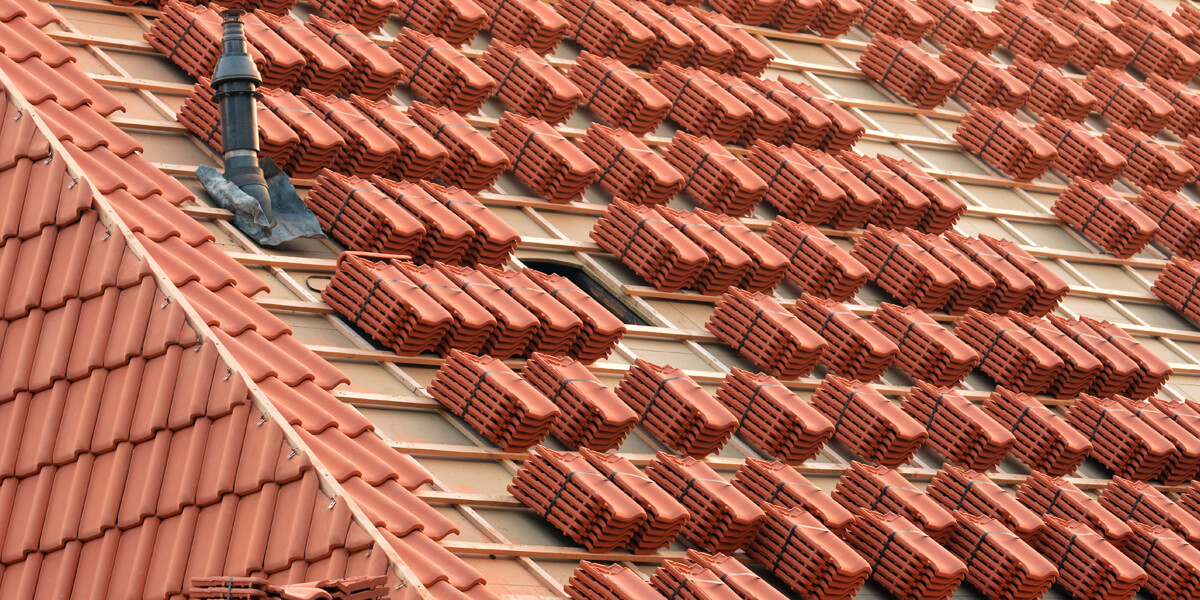
Step 7: Fit Timber Battens
Once you're satisfied that the underlay is properly installed, you can fit the timber battens onto which the roof tiles will ultimately be attached. The tiles should always overlay by at least 3 inches - except for the eaves tile, which should reach the gutter's centre – so the space between the battens is calculated using the size of the specific tiles that you will be laying.
To work out the space between the battens, place a tile on one of the timbers, and another on the batten below. Move the pieces of wood together or apart until the tiles overall by 3 inches. Measure the distance between the battens, and use this as the width that should be between each of the battens when they are situated on the roof.
Place the first batten at the bottom of the roof, ensure a tile will extend from the batten to the middle of the gutter, and then keep working upwards. Install battens with the predetermined space between them, and keep checking the distances as you go.
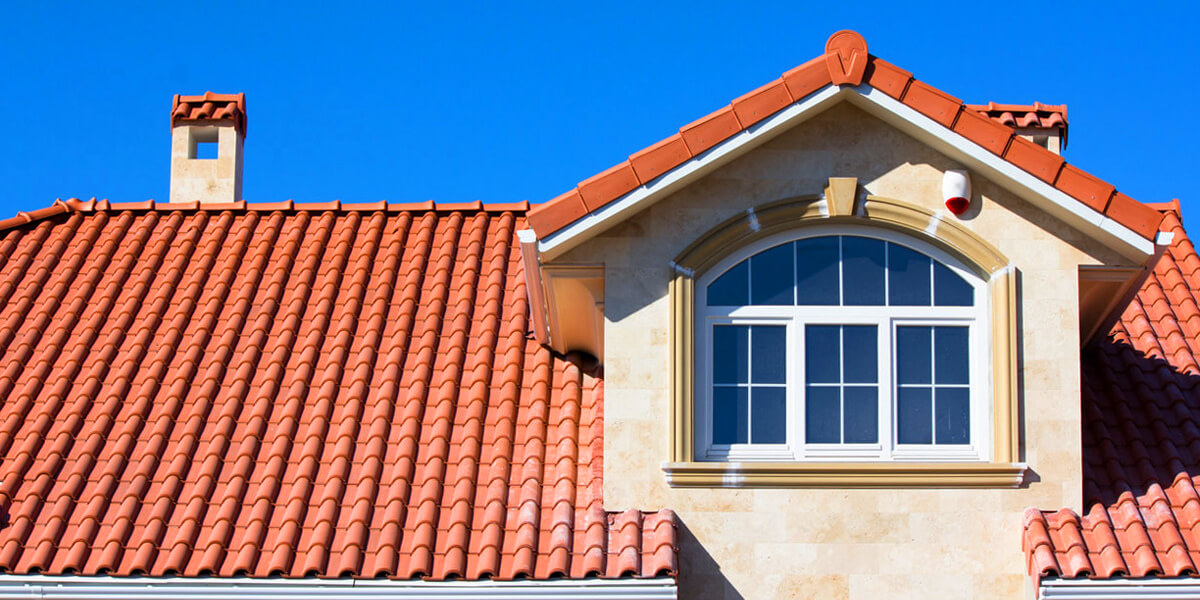
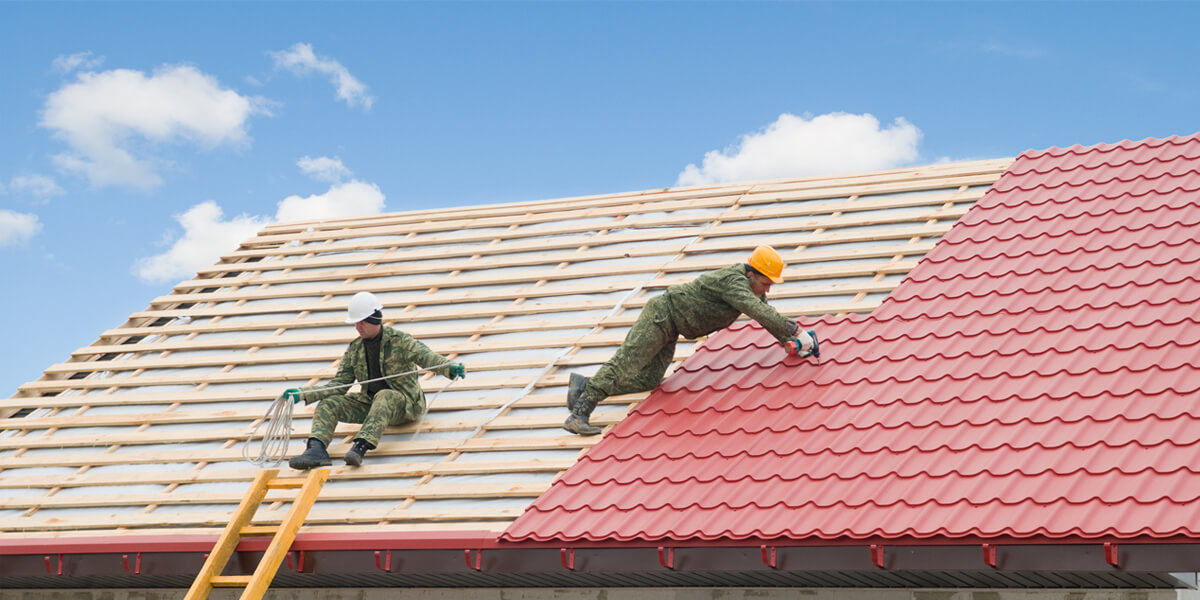
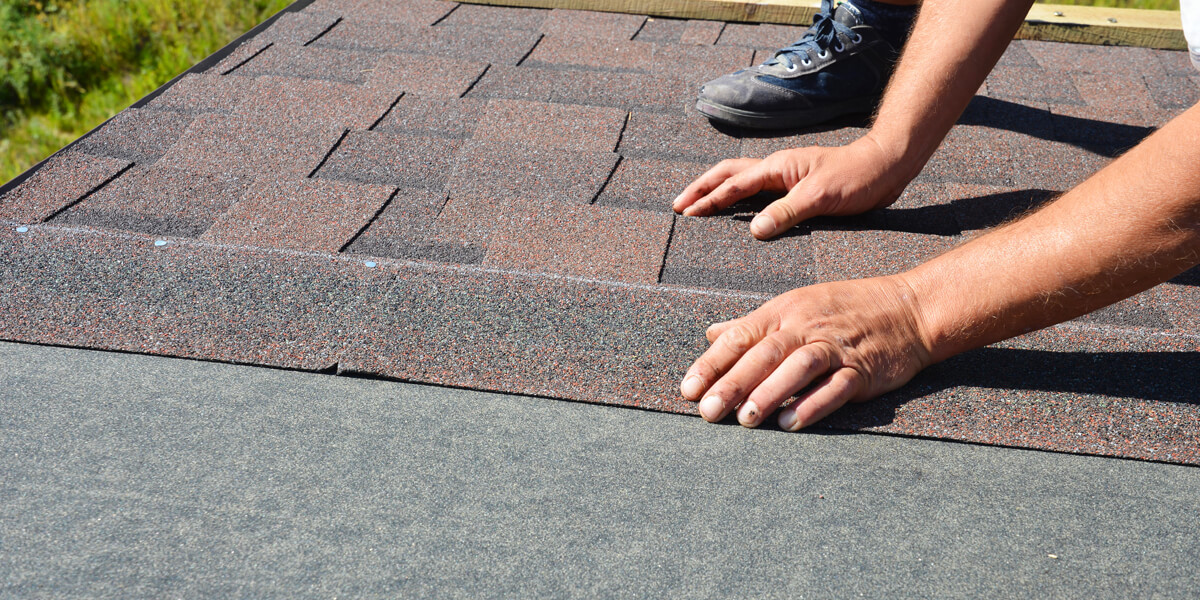
Step 8: Tile the Roof
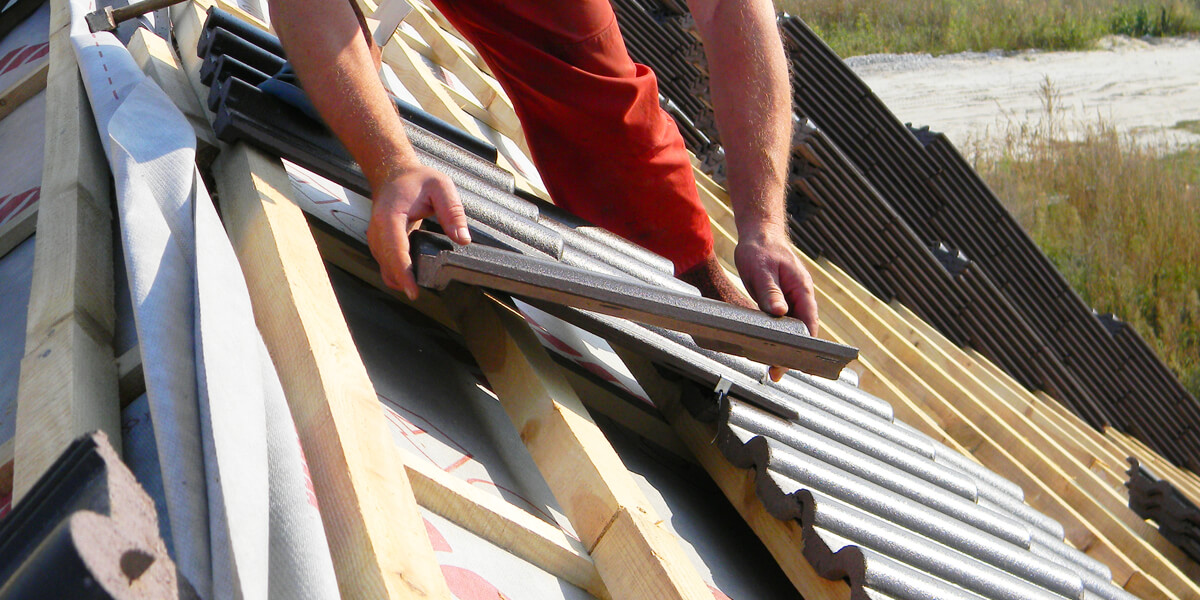
At this point, you're ready to install your tiles. As you continue placing tiles on the roof, ensure that they're spread evenly across the entire space. This distributes weight evenly and helps to avoid any accidents.
Lay the tiles from right to left, nailing them as you go, and work around any chimneys or other obstacles. Once the bulk of the tiles are installed, you can come back to the more challenging areas. If you're starting at the eaves, extend the tiles so that they reach the gutter's centre line. Remember to ensure you can get down from the roof without tramping all over your finished handiwork.
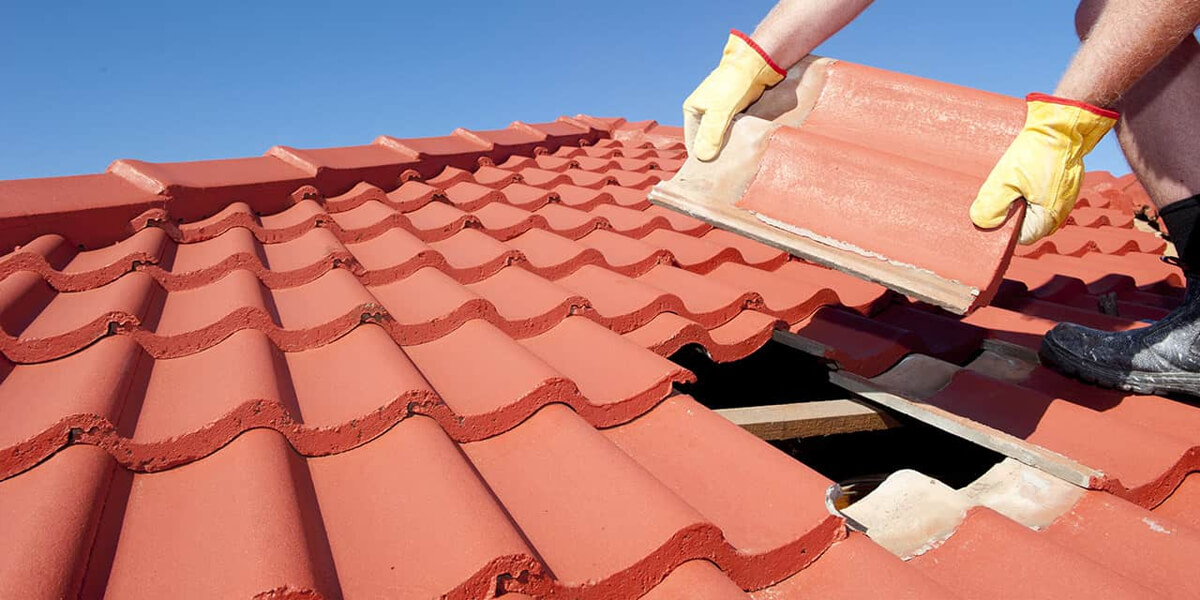
You might need to cut the tiles to make them fit around chimneys, or to neatly finish a row. In this case, a good rule of thumb is to never cut a tile smaller than half the width of the original, and should never cut it on the bottom edge. Doing either of these things can make the tile too flimsy to work with, and you'll just end up wasting your roofing materials.
When you finish laying all the regular tiles, you can move to the top of the roof to fit your ridge tiles. These can be installed end-to-end or overlapped, depending on the specific kind of ridge tile that you're using.
One final note here – think carefully about the time that you plan to do your tiling. You won't want to do it in winter, of course, but more specifically you need to do it over a period of several dry days. If you can only work on the project at specific times you'll need to check and make sure that the weather will hold until you're finished.
Everything You Need, Under One Roof
Buildworld has everything you need to tile your roof – it's all under ours! Speak to our friendly customer assistants for expert advice on what tiles, accessories and other materials to buy, techniques for installing the underlay and fitting the battens, and any other questions you might have about the tiling process. We're here to help you tackle all your DIY projects in any way we can.
Related Articles

Category
Doors & WindowsPosted On
21st December 2024

