Save yourself a headache by replacing your old locks. Rekeying the old locks in your new house will make it easier to control who has keys to your property, and will ensure your locks meet or exceed UK security standards for houses.
We have put together a step-by-step guide to replacing the most commonly found lock types. Using only simple hand tools and replacement parts, you will be able to remove old cylindrical or mortice locks and replace them, keeping your family and home secure. To find out more about the different types of door locks for your property, please read our previous article here.
Tools and Preparation

Collect your basic tools before getting started. Generally, these are several different types of screwdrivers (both Phillips and Flat Head), an electric drill (with bits), chisels, a hammer (to use with mortice locks), tape measure, and pliers/hexkey for special fittings. You may also need a hacksaw for sizing the lock bars.
Be sure to wear eye protection while chiselling or drilling. Make sure the door is worn and stable and open during chiselling. Take measurements of the existing lock to ensure your new lock fits the door correctly. Have your new lock and keys ready to ensure the easiest possible installation.
Replacing a Euro Cylinder Lock
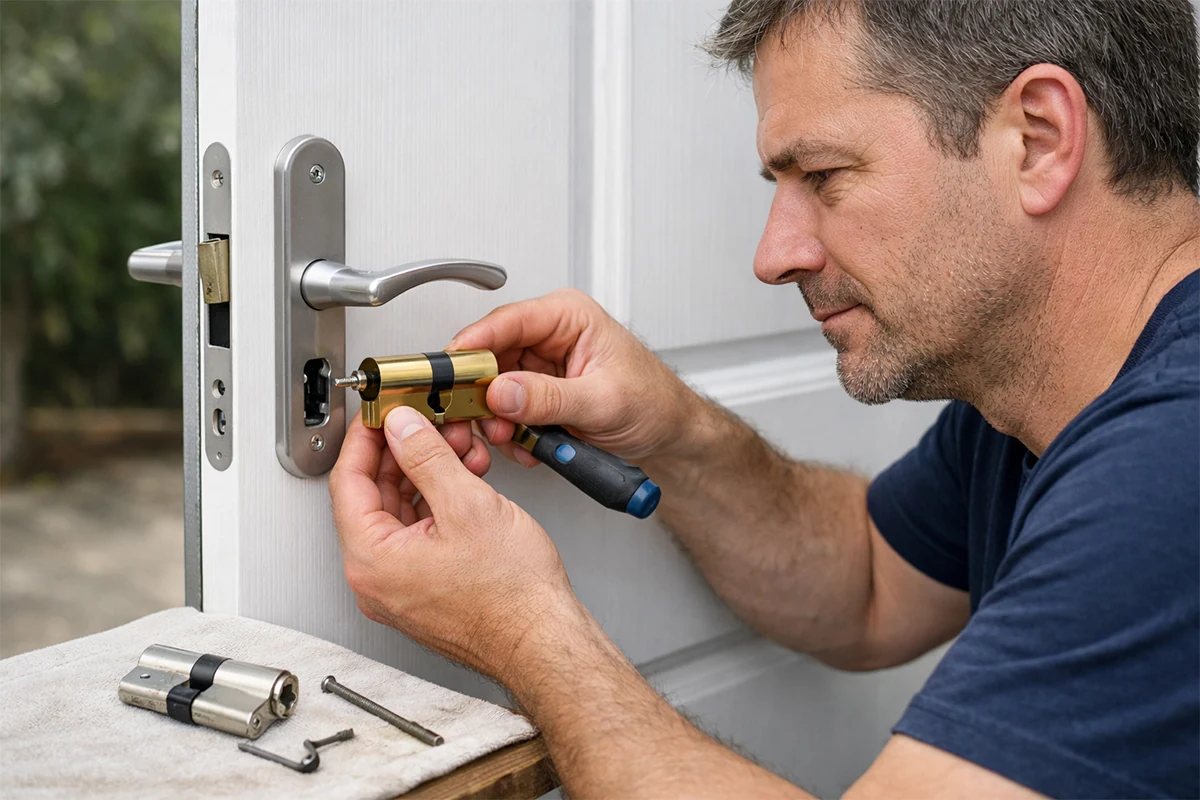
- Measure and Select: Open the door and locate the long screw in the edge of the door securing the cylinder; measure and record the distance from the centre of the screw hole to the end of the cylinder on each side (2 lengths, e.g. 30/30, 40/40). When replacing a cylinder in a front door, maximum security can be achieved by replacing any existing cylinder with a TS007 3 Star anti-snap cylinder.
- Remove Handles and Fixings: Remove the handles by unscrewing the plates on the inside face of the door and unscrew the long fixing screw that is on the edge of the door under the handle. Then you can access your cylinder lock. The fixing screw should be flush with the cylinder hole.
- Remove Old Cylinder: Insert existing key and turn it to slightly align the cam, then slide the cylinder out of the door from the outside. If it does not slide out easily, wiggle or twist the key while pulling out and fully pull the cylinder out of the door.
- Install New Cylinder: Insert the key into the new cylinder, turn it slightly to align the cam and push it into the hole from the outside. Then tighten the fixing screw on the door edge to lock it in place.
- Reassemble & Test: Replace the door handle and tighten up the screws. If applicable, lift the handle to test both the lock and handle/latch by turning the key from both inside as well as outside and ensure that it turns smoothly. Make sure that there is no binding of the handle or latch and that the lock latches or deadbolts properly into the strike plate when the door is closed.
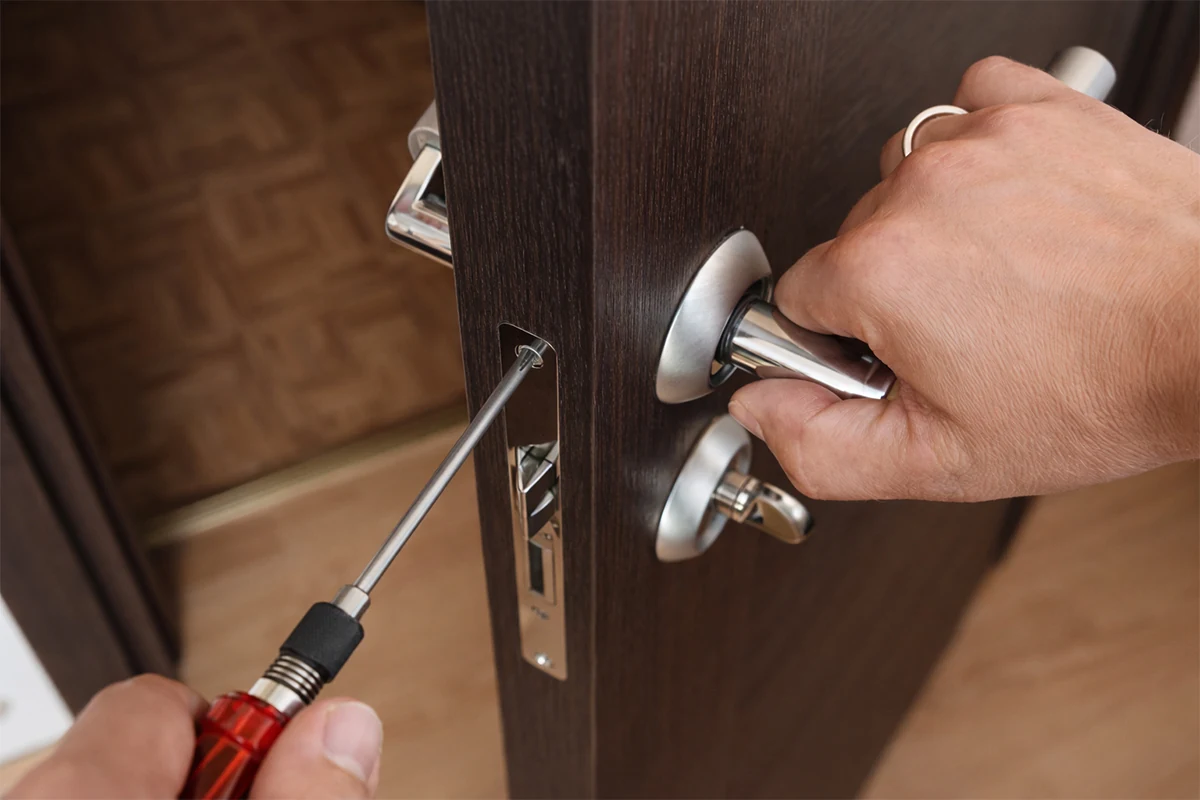
Replacing a Mortice Lock
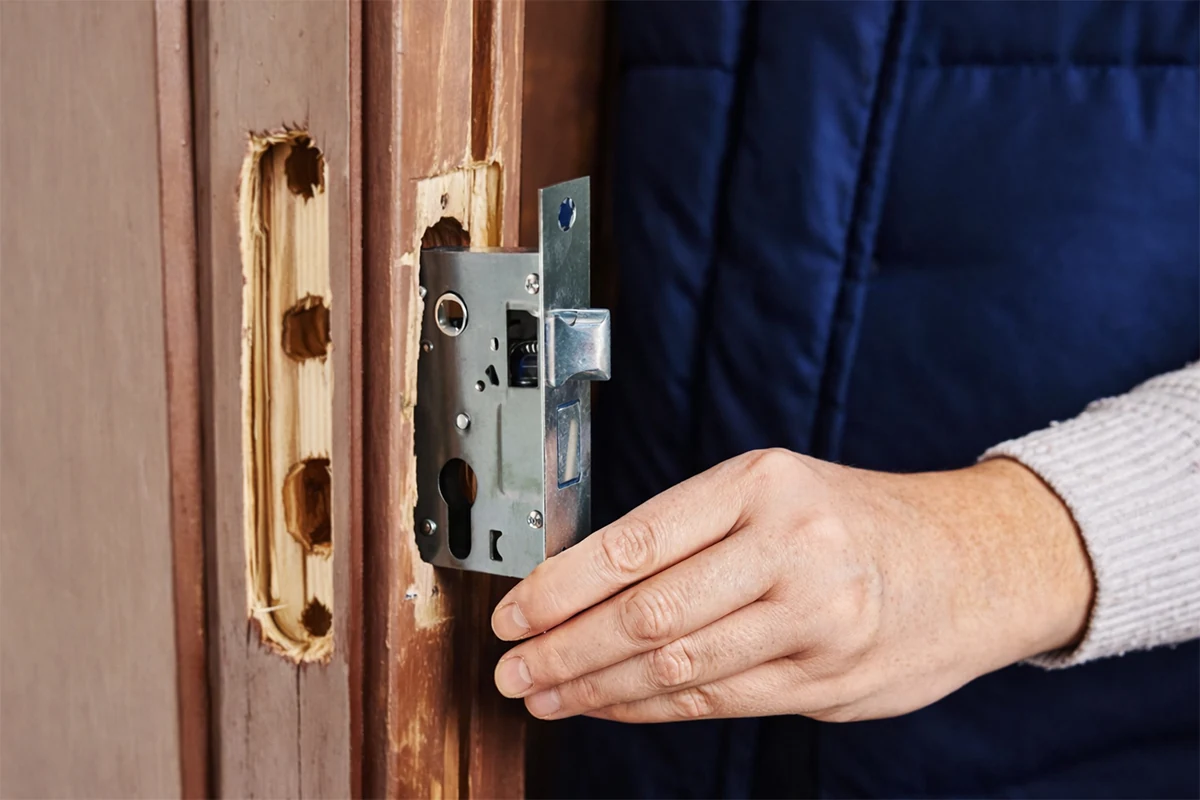
- Remove Old Lock: Start by opening the door so you can take out the sashlock handle. Then, on the edge of the door at the top and bottom of the faceplate of the mortice lock, unscrew two screws and pull off the forend (face plate) and slide the lock case out of the door. If the old lock is sticking or jammed, you can use penetrating oil or gently tap it free of the door.
- Prepare the Door: Inspect the mortice cavity. If the new lock is larger than the one being replaced, it may be necessary to chisel out the mortised cavity to create space for the lock box. If the strike plate located in the frame does not match the measured length of the new deadbolt, you will either need to replace it or modify the size of the hole in the frame for the new deadbolt.
- Installing the New Lock Body: Insert the lock body into the opening of the lock and align the bolt or latch with the jamb before installing the first two screws—with a previously used or new screw. When installing a sashlock, ensure that both the handle and the spindle are installed before securing with screws.
- Finishing Up: To confirm that installation has been successful, turn the key in the lock to test. When locking and unlocking, the latch should retract and the deadbolt should fully throw each time you turn the key. If the latch is sticking, you may need to file or adjust tension on the strike plate or the screws. Also, make sure that the curved edge of the strike on the jam is positioned correctly so that it supports smooth operation of the bolt as it closes. Continue to check and make adjustments until your lock functions properly at all times.
Replacing a Multipoint (uPVC/Composite) Door Lock

If your door has multiple-point locks and you’re replacing a whole lock mechanism, begin by unlocking and opening the door. Next, you need to remove the door handles and any cover caps. Then, you will need to remove the fixing screws from the lockcase or gearbox (these could be located at the top, bottom or side). Once the screws are taken out, you should be able to remove the door lock with ease. The old lock mechanism will typically have a Euro Cylinder and a connecting bar; therefore, you may need to unbolt the connecting bar from the euro cylinder.
Now that you have removed the old locking mechanism, you can place the new locking mechanism into the door. When placing it into the door, make sure that the new lock is from the same manufacturer and of equal size as the old lock. If you were replacing with an exact size then, changing the locks would take a subjectively short amount of time – approximately 3-5 minutes, with the use of either a screwdriver or drill. You can now secure the new lock and reattach the sink and door handles back on the door. Finally, in order to make sure the hooks/bolts operate smoothly, raise the handle and engage the bolts to lock/unlock the door several times until it works perfectly.
Replacing a Nightlatch Cylinder
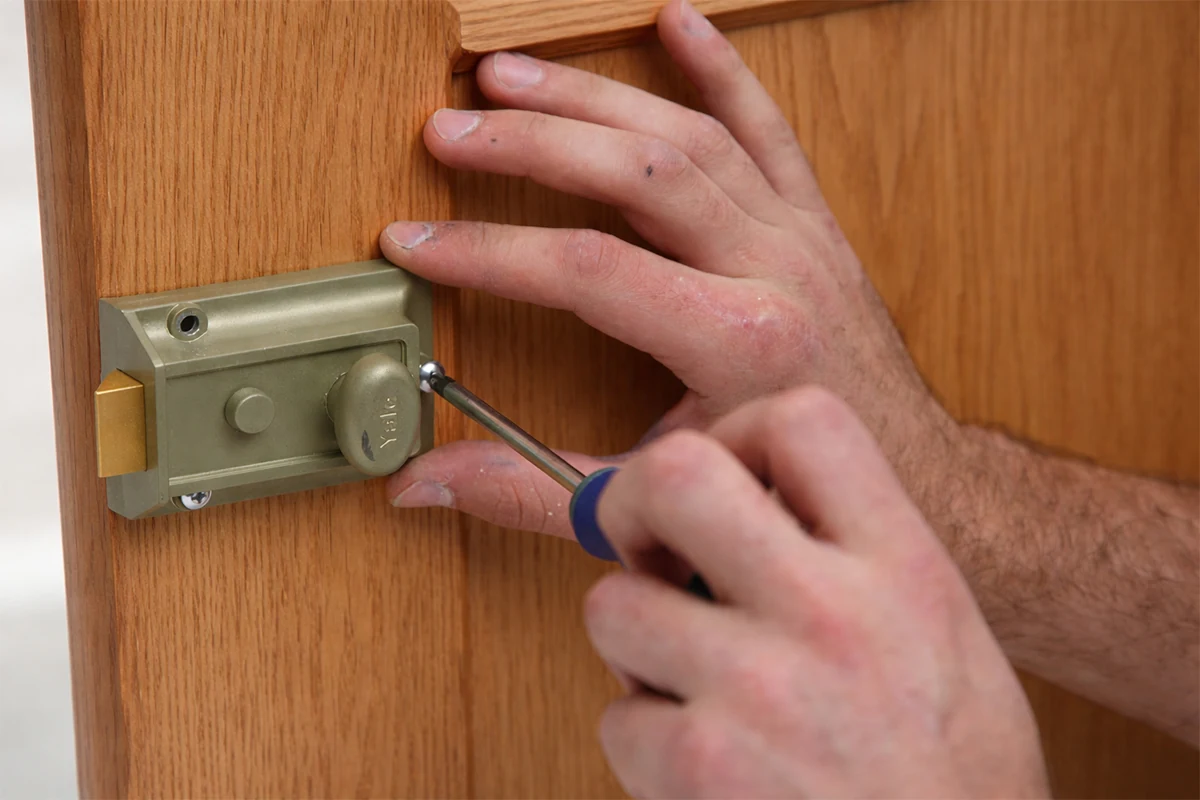
In some cases, like if your front door uses a rim-mounted night latch, you can usually simply replace its cylinder. To do this, you need to find the case screws on the back of the lock inside the door. Remove those screws, then the back of the lock will come off and you'll be left with just the long cylindrical part of the lock protruding from the door.
Once you have the cylinder out (with the key in it), you can discard it and insert a new cylinder in its place. Inserting the key slightly to align with the new cylinder. Reattach all screws to secure the appliance. You can replace a night latch easily with only a Phillips-head screwdriver. In some cases where you may need to use a hacksaw to cut a broken cylinder. Test your installation by using the lock on both sides to ensure smooth operation of the thumb turn and latch.
When your new lock has been installed, you should perform an extensive test. To do this, you will want to turn the key many times, use the handles from both inside and outside, and ensure that the latch and/or bolt move freely. You will also want to check for friction while turning the key, ensure that the screws do not have excessive tension applied to them (the key should rotate freely) and check for alignment of the strike plate to the door jamb and/or frame(s). The easiest way to avoid being locked out (or in) in the future is to complete this simple test.
To make your home safer and more secure, purchase door locks from Buildworld! We offer a wide variety of door locks including deadbolts, mortice and cylinder locks, as well as hasp and staple locks from several brands including Dale Hardware, LPD and Deanta at extremely affordable prices. So hurry and order yours now!
Related Articles